 Anacortes Siding
 Siding Installation Built for March Point's Exposure
March Point sits out on the water between Fidalgo Bay and Padilla Bay, just outside Anacortes, and that location shapes everything about how siding should be installed here. Homes on this stretch of Skagit County take a steadier beating from the elements than houses tucked further inland — more salt in the air, more wind-driven rain hitting the walls at an angle instead of falling straight down, and more shade and dampness feeding moss growth for a good chunk of the year. Siding installation in this kind of setting isn't just about picking a good-looking product and nailing it up. It's about installing a system that's engineered for water, wind, and salt, and installing it correctly the first time, because redoing siding on a home exposed like this is expensive and disruptive.
This page covers what March Point homes actually need from a siding installation, what a correct job looks like underneath the surface, and how our process works when we're on your property.
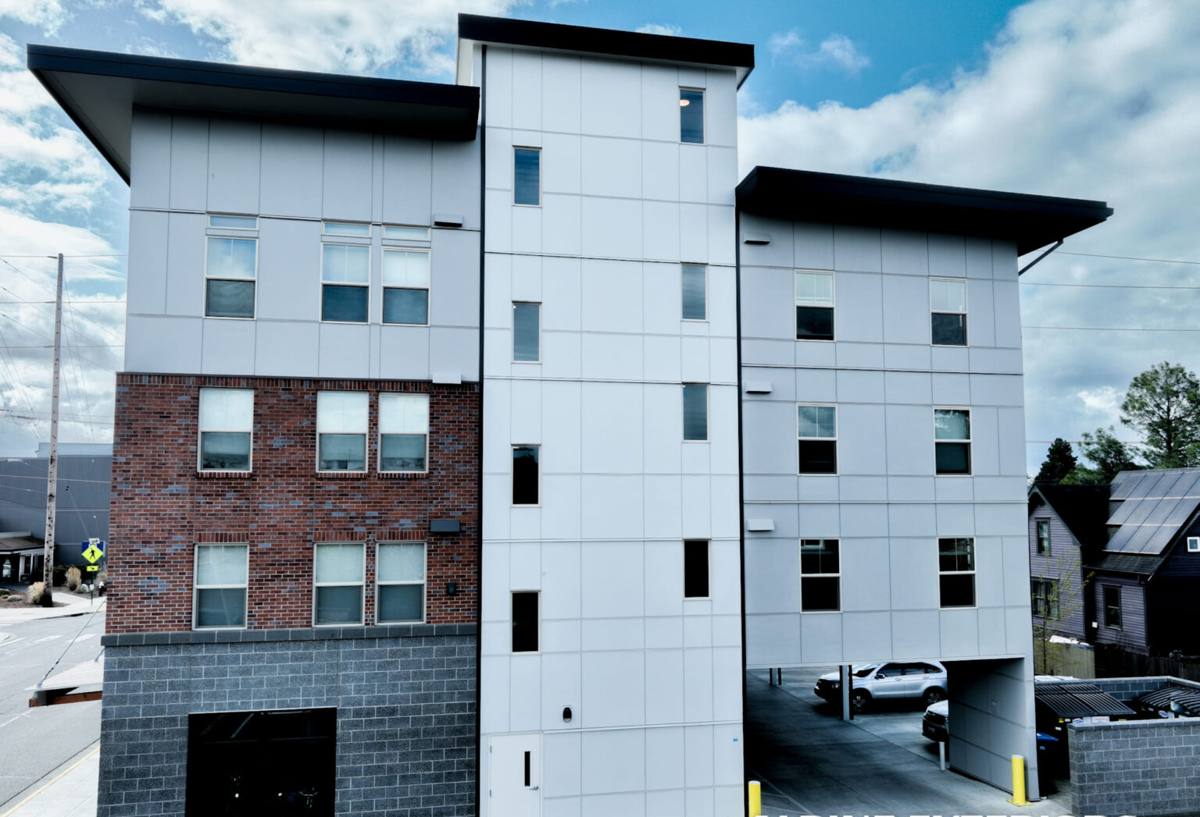
What March Point's Climate Does to Siding
Salt Air and Corrosion
Being close to open saltwater means airborne salt settles on exterior surfaces even when you can't smell it. Over years, that salt exposure accelerates corrosion on fasteners, trim, and any siding material that isn't built to resist it. It also breaks down paint films faster than it would on a home a few miles inland, which is why coating quality and fastener selection matter more here than they would on, say, a house east of town.
Wind-Driven, Sideways Rain
Anacortes and the surrounding Skagit County shoreline get plenty of rain, but the bigger issue for siding isn't total rainfall — it's the direction it comes from. Storms off the water push rain sideways into walls instead of letting it run straight down and off. That means water gets forced into laps, seams, and any gap in flashing that a straight-down rain would never find. A siding system with weak seams or inconsistent flashing details will eventually let moisture behind it, and once water gets behind siding it tends to cause damage long before anyone notices from the outside.
A Long Moss Season
Shaded, damp exterior walls in this part of Western Washington can stay wet for months at a stretch, and that's exactly what moss and algae need to take hold. Once moss establishes itself on a siding surface, it holds moisture against the material even longer, which compounds the problem. Some siding materials resist this better than others, and the surface texture and coating of the material you choose has a real effect on how much moss and mildew show up on north- and shade-facing walls.
Why We Only Install James Hardie Fiber Cement Here
For a location like March Point, we've standardized on James Hardie fiber cement siding rather than offering a menu of vinyl, engineered wood, or other cement-board options. Fiber cement is non-combustible, dimensionally stable, and doesn't absorb and swell with moisture the way wood-based products can — which matters directly given how much moisture this location deals with. James Hardie's ColorPlus factory-applied finish is baked on under controlled conditions and holds up to UV and salt exposure noticeably better than field-applied paint, and it comes backed by a real, transferable warranty. We install the HZ5 product line, which James Hardie engineers specifically for wetter, harsher climates like ours — as opposed to their HZ10 line built for hot, dry regions of the country. That distinction is not marketing; it changes how the product performs on a wall exposed to marine weather year-round.
What a Correct Siding Installation Actually Involves
The siding itself only does part of the job. Most of the failures we get called out to inspect on other companies' work trace back to what's underneath the boards, not the boards themselves. On a home exposed to wind-driven rain and salt air, every layer matters.
- A code-compliant weather-resistive barrier (house wrap) installed with proper overlaps and taped seams, not just stapled on
- Correctly flashed window and door openings, so water is directed out and away rather than trapped behind trim
- A rainscreen gap or drainage plane where conditions call for it, giving any moisture that does get behind the siding a path to drain and dry out
- Starter strips and proper lap spacing set to James Hardie's published fastening and clearance specifications
- Corrosion-resistant fasteners driven at the correct depth and spacing — overdriven or underdriven nails are one of the most common causes of early siding failure
- Proper clearance between the bottom of the siding and grade, decks, and roof lines, so standing water and splash-back don't sit against the material
- Caulked and sealed joints at trim, corners, and penetrations using products rated for the exposure
Skip any one of these steps and the siding can look fine for a year or two while a moisture problem builds behind it. That's the real risk with a rushed installation — it's invisible until it isn't.
Correct Installation vs. Common Shortcuts
| Detail | Correct Approach | Common Shortcut We See |
|---|---|---|
| House wrap seams | Overlapped and taped per manufacturer spec | Stapled with untaped or minimal overlap |
| Window/door flashing | Layered so water sheds outward at every level | Caulk used in place of proper flashing |
| Fastener placement | Set to Hardie's exact spacing and depth spec | Overdriven, inconsistent, or wrong fastener type |
| Clearance to grade/decks | Minimum clearance maintained per code | Siding installed tight to grade or decking |
| Drainage behind siding | Rainscreen or drainage plane where conditions warrant | Siding installed direct-to-wrap with no drainage path |
Our Process for March Point Homes
1. On-Site Assessment
We walk the exterior with you, look at the current siding and what's driving the need for replacement, and pay close attention to sides of the house facing prevailing weather and shaded areas prone to moss. We check trim, window flashing, and any signs of moisture already working its way in.
2. Tear-Off and Sheathing Check
Old siding comes off and we inspect the sheathing underneath before anything new goes up. If we find rot or water damage from a prior installation, we address it before covering it back up — putting new siding over a compromised wall just hides the problem.
3. Weather Barrier and Flashing
This is where most of the long-term performance of your siding gets decided. We install house wrap, flashing, and drainage detailing to the standard this location needs, not the minimum code will allow.
4. James Hardie Installation
Boards, panels, or shingles go up to manufacturer spec — correct nailing pattern, correct clearances, correctly sealed joints — using the HZ5 product engineered for our climate.
5. Final Walkthrough
We walk the finished exterior with you, check every elevation, and go over care and warranty information before we consider the job done.
Matching the Product Line to Your Home
James Hardie makes several product lines, and the right one depends on your home's style and exposure. HardiePlank lap siding is the most common choice for traditional and craftsman-style homes and gives strong, consistent weather protection across large wall areas. HardieShingle siding suits homes going for a Cape Cod or coastal look and holds up well in shaded, damp conditions when installed with proper spacing for drainage. HardiePanel vertical siding works well for accent areas, gables, or modern designs. All of them are available in James Hardie's factory ColorPlus finishes, which matters on a home taking regular salt and UV exposure — a factory-cured finish simply outlasts field-applied paint in this environment.
What Affects Cost
| Factor | Why It Matters |
|---|---|
| Home size and wall complexity | More corners, gables, and dormers mean more cutting, flashing, and labor |
| Condition of existing sheathing | Rot repair or replacement adds cost but is essential if found |
| Product line and profile | Lap, shingle, and panel siding have different material and labor costs |
| Trim and detail work | Window, door, and corner trim detailing adds time and material |
| Access and site conditions | Waterfront lots, slopes, and limited access can affect staging and labor time |
We give exact numbers only after seeing the home in person — anyone quoting a firm price over the phone for a job like this hasn't actually looked at your walls.
Caring for Your Siding After Installation
James Hardie fiber cement is low-maintenance compared to wood or vinyl, but "low-maintenance" doesn't mean "no maintenance," especially in a location that gets this much moisture and salt exposure.
- Rinse the exterior with a garden hose once or twice a year to clear salt residue and light debris
- Check shaded, north-facing walls periodically for early moss or algae growth and address it before it spreads
- Keep gutters clear so overflow doesn't run down the siding face repeatedly in one spot
- Trim back landscaping that keeps a wall section shaded and damp longer than the rest of the house
- Inspect caulking at trim and penetrations every couple of years and have any cracked sealant redone
Why It Matters to Hire a Crew That Already Works March Point
A siding crew that mainly works drier, more sheltered neighborhoods can still do competent work on a typical inland home and still get it wrong here — not because they're careless, but because they're not used to designing for wind-driven rain and salt exposure every day. A crew that already installs siding regularly around Anacortes and the surrounding Skagit County shoreline knows which details can't be shortcut on a home like yours, because they've seen what happens when they are. That familiarity shows up in the flashing details, the drainage planning, and the fastener choices — the parts of the job you won't see once the siding is up, but that determine whether it's still performing well in fifteen years.
If you're planning a siding project in March Point, we're happy to take a look at your home and walk you through what it needs. Reach out for a free, no-pressure estimate using the form below.