 Anacortes Siding
 Building in Skyline: What Windows Have to Stand Up To
Skyline sits close enough to the water that salt air is a daily fact of life, not an occasional nuisance. Add Skagit County's long wet season, driving rain that comes in sideways off Rosario Strait and Fidalgo Bay, and the moss and mildew growth that follows any shaded, damp wall assembly, and you have a climate that is unusually hard on window openings. New-construction windows get one real chance to be installed correctly — once the siding and trim go on around them, most of the flashing and sealing work is buried for good. On a new build in Skyline, that first install has to be right, because a callback five years later means opening up finished wall, not just re-caulking a sash.
This page covers new-construction window installation specifically — meaning windows going into a wall that's still open, framed, and wrapped, as opposed to replacement units going into an existing opening. The two jobs share a product category but almost nothing else in terms of technique.
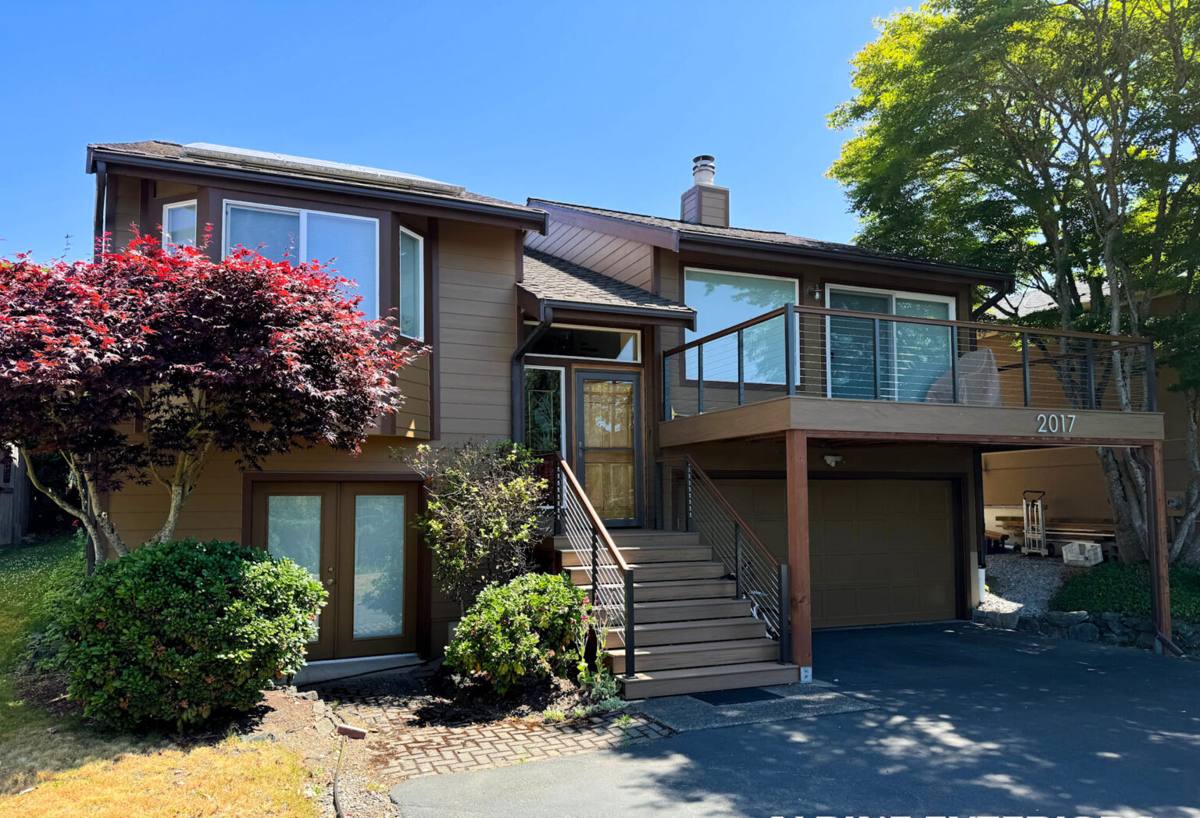
New-Construction vs. Replacement: Why the Distinction Matters
New-construction windows come with a nailing flange (also called a nail fin) around the perimeter of the frame. That flange gets integrated directly into the water-resistive barrier (WRB) and flashing system before siding goes on. Replacement windows, by contrast, are built to fit inside an existing frame with no flange, relying on the old frame and trim for weatherproofing.
On a new build in Skyline, you want the flange system. It gives us a continuous, layered drainage path — sill pan, jamb flashing, WRB, head flashing — that sheds water outward before it ever reaches the framing. That layered approach is what actually matters in this climate. A window that looks fine on day one but was flashed out of sequence will show it in wall rot, staining, or soft trim within a few wet seasons, especially on walls exposed to the prevailing weather.
Why Sequence Matters More Than Product Here
We get asked more about brand than about sequence, but sequence is what actually keeps water out. A mid-range window installed with correct flashing order will outperform a premium window installed out of sequence. In Anacortes' rain and salt exposure, that gap shows up faster than it would in a drier inland climate.
What a Correct Install Actually Involves
A proper new-construction window install is a sequence, and skipping or reordering a step is where most water problems start. Here's the order we follow on Skyline builds:
Sill Pan Flashing
Before the window ever goes in, the rough sill gets a sloped, sealed pan — either a manufactured flexible flashing pan or a built-up sloped sill — so any water that gets past the window drains back out to the exterior instead of pooling on the framing. This is the single most common shortcut we see skipped on lower-bid jobs, and it's the one that causes the most damage over time.
Jamb and Side Flashing
The nailing flange gets integrated with the WRB using a shingle-lap method — each layer overlapping the one below it, never the reverse — so water is always directed down and out, never trapped behind a layer.
Head Flashing
A separate head flashing or drip cap goes above the window, lapped over the WRB above it. This is what keeps wind-driven rain, which is common along the Skagit shoreline, from working its way in above the frame during a hard blow off the water.
Integration with Siding
Once flashing is complete, the siding and trim are brought up to the window with proper clearances and back-caulking where the manufacturer calls for it — not everywhere, since over-sealing can trap moisture rather than shed it. Getting this transition right is as much about the siding install as the window itself, which is why we treat windows and siding as one connected system rather than two separate trades.
Window Types We Work With
Material choice matters for this climate mainly in terms of long-term maintenance and how the frame handles moisture and salt exposure, not just up-front cost.
| Frame Material | Salt Air / Moisture Behavior | Maintenance | Typical Fit |
|---|---|---|---|
| Vinyl | Good — won't corrode or rot, but can discolor over years of UV and salt exposure | Low | Most cost-conscious new builds |
| Fiberglass | Very good — dimensionally stable, holds up well to temperature and moisture swings | Low | Higher-end new construction, larger openings |
| Wood (clad exterior) | Interior wood needs protection from condensation; exterior cladding handles weather | Moderate | Homeowners wanting a wood interior look |
| Aluminum | Prone to corrosion in salt air unless well-finished; thermal performance is weaker | Moderate to high | Rare in residential new construction here |
We don't push a single brand or material on every job. What we push is correct installation and flashing detail, because that's what determines whether any of these materials actually perform over the next 20 years in Skagit County's weather.
Our Process on a Skyline New Build
- Framing walk-through — we check rough openings for square, level, and correct size before windows ever arrive, so there are no surprises mid-install.
- WRB and flashing plan review — we confirm the house wrap or building paper is installed correctly and sequenced to work with our flashing plan before openings are cut or windows set.
- Sill pan and flashing install — done window by window, following the sequence above, with photos kept for our own records on every opening.
- Window setting — units are shimmed, leveled, and fastened to manufacturer spec, checking for square and consistent reveal.
- Insulation and air sealing — the gap between the frame and rough opening is filled with a low-expansion foam or backer rod and sealant, never packed tight enough to bow the frame.
- Siding and trim integration — siding is brought up to the window with correct clearances, and trim is set to shed water away from the frame.
- Final walk-through — every window gets checked for operation, seal, and squareness before we call the job done.
What Drives Cost
| Factor | Why It Matters |
|---|---|
| Window count and size | More openings and larger units mean more flashing detail work, not just more glass |
| Frame material | Vinyl, fiberglass, and clad-wood carry different material costs |
| Wall exposure | Elevations facing prevailing wind and rain off the water often get upgraded flashing details |
| Access and building stage | Coordinating with framers and siding crews on a tight schedule affects labor time |
| Special shapes or sizes | Custom or oversized openings need custom flashing details, which take more time to get right |
We won't quote a job over the phone without seeing plans or the actual openings — too much of the cost is driven by site-specific details that don't show up in a square-footage number.
Mistakes We See on Other Jobs
Most of the water problems we get called to fix later trace back to a handful of repeatable shortcuts. When you're vetting any contractor for new-construction window work in Skyline, ask directly whether these are part of their standard process:
- Sloped sill pan flashing installed on every opening, not just the ones facing the weather
- Flashing layers shingle-lapped correctly, with nothing taped or sealed in the wrong order
- WRB integrated with the flashing system before the window is set, not patched around it afterward
- Correct, manufacturer-specified fastening — not overdriven or underdriven nails at the flange
- Low-expansion foam or backer rod used around the frame, never packed solid
- Weep holes and drainage paths left clear, not caulked shut
- Photos or documentation kept per opening in case anything needs to be checked later
Why a Crew That Already Works Skyline Matters
Anacortes and the surrounding Skagit County shoreline don't behave like inland Washington builds. Wind direction, salt exposure, and how hard the rain drives against a given elevation vary block to block depending on how exposed the lot is to the water. A crew that's worked several builds in Skyline already knows which elevations typically need extra attention to head flashing and which sill conditions tend to hold water longer through the wet months. That's not something you can fully substitute with a manufacturer's install manual — it comes from having done the work in this specific place, in this specific weather, more than once.
We also coordinate directly with framers and other trades on-site rather than working in isolation, which matters on a new build where window flashing has to line up with the WRB and siding sequence exactly, not just be "close enough."
Get an Estimate
If you're framing a new home in Skyline or planning one, we're happy to walk the site, look at your window schedule, and give you a straightforward, no-pressure estimate on the window installation work. Use the form below to get started.