 Anacortes Siding
 Windows Built for Skyline's Marine Climate
Skyline sits up on the hill above the Guemes Channel, which means most homes there catch more wind-driven rain and salt-laden air than properties tucked into town. That combination is hard on windows in ways that aren't always obvious from the curb. Salt air accelerates corrosion on hardware, cladding fasteners, and cheaper vinyl components. Driving rain finds any weak point in flashing or sealant and pushes water sideways into the wall assembly instead of letting it run off. And the long moss season that Skagit County sees from fall through spring keeps trim, sills, and frame surfaces damp for weeks at a stretch, which is exactly the condition mold, rot, and seal failure need to take hold.
Energy-efficient windows help with more than heating bills in this setting. A properly selected and properly installed unit also holds up better against the elevated humidity and salt exposure that come with living on this stretch of the Washington coast. This page covers what that actually looks like for a Skyline home — the product decisions, the installation details that matter, and how we run the job from estimate to cleanup.
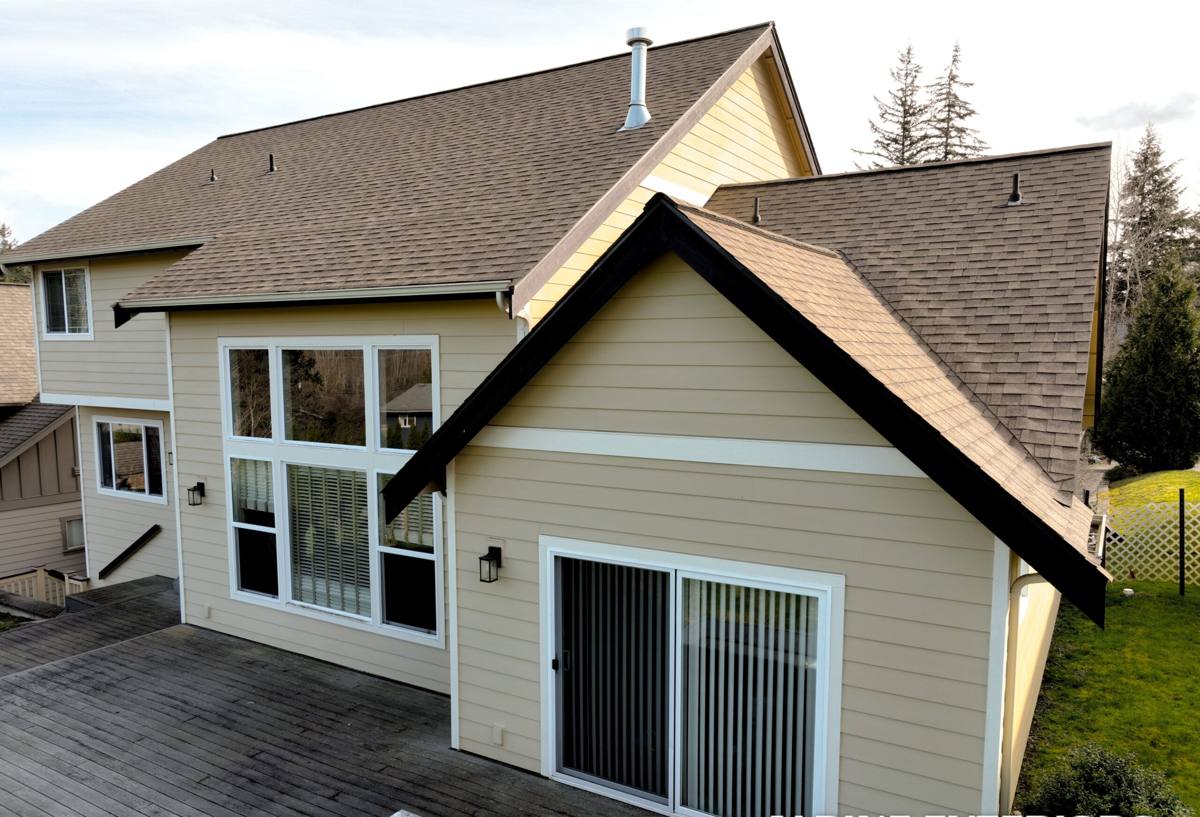
What Local Homes Actually Need From Their Windows
Not every "energy-efficient" window sold in this region is a good fit for a home exposed to salt spray and sustained wet weather. Before we talk brands or glass packages, it helps to know what to prioritize:
- Corrosion-resistant hardware — locks, hinges, and balance systems that won't pit or seize after a few wet winters near the water.
- Reliable weatherstripping and compression seals — the seal is what actually stops driving rain from getting past the sash, not just the glass.
- A frame material that tolerates repeated wet-dry cycling without warping, swelling, or losing its seal over time.
- Correct flashing integration with the existing wall assembly — this matters as much as the window unit itself.
- A glass package matched to orientation — west and north-facing rooms in a Skyline home have different comfort needs than south-facing ones.
Homeowners often come to us focused on the U-factor and SHGC numbers on the sticker, which are worth understanding, but on this hill the installation quality and the frame's ability to shed water are usually the bigger factor in how the window performs five and ten years out.
Reading the Numbers Without Overthinking Them
Every new window sold in Washington carries an NFRC label with a U-factor (how well it resists heat flow — lower is better) and a Solar Heat Gain Coefficient (how much solar heat passes through — lower means less heat gain). For our climate, we generally steer homeowners toward a moderate U-factor paired with a SHGC that's balanced rather than extreme in either direction, since Anacortes doesn't see the intense summer heat that would push someone toward a very low SHGC, but it does see enough gray, overcast stretches that you don't want to block out what sun there is either.
What a Correct Installation Involves
The window unit is maybe half the equation. The other half is how it gets tied into the wall. On a home exposed to wind-driven rain, a technically excellent window installed with sloppy flashing will leak, and a modest window installed correctly will outperform it. Here's what we treat as non-negotiable on every install:
- Remove and inspect. Old units come out carefully so we can see the condition of the rough opening, sheathing, and any existing flashing before anything new goes in.
- Address what we find. Soft sheathing, failed old flashing, or signs of past moisture intrusion get repaired before the new window goes in — not covered over.
- Flash in the correct order. Sill pan first, then side flashing, then head flashing integrated with the weather-resistive barrier, lapped so water always sheds outward and down, never trapped behind the cladding.
- Set the unit level, plumb, and square. A window that's slightly racked in the opening won't seal or operate correctly no matter how good the product is.
- Insulate the gap properly. Low-expansion foam or backer rod and sealant around the perimeter — packed too tight and it can bow the frame, too loose and it leaves a thermal and air gap.
- Seal and finish the exterior. Compatible sealant at the right joints, trim reinstalled or replaced, and a final check that nothing was left as a water entry point.
Skipping or rushing any one of these steps is how a brand-new window ends up with a soft sill or a drafty corner within a couple of winters — and on this hill, with the moss season we get, problems like that show up faster than they would in a drier part of the state.
Frame Material: What We Recommend and Why
| Frame Type | How It Handles Salt Air & Moisture | Where We Typically Recommend It |
|---|---|---|
| Vinyl (quality-grade) | Good corrosion resistance since there's no metal to pit; performance depends heavily on the specific product's weatherstripping and reinforcement | Most standard replacement projects on a reasonable budget |
| Fiberglass | Very stable through wet-dry and temperature cycling, minimal expansion/contraction, holds paint and seals well long-term | Exposed elevations that take the brunt of wind-driven rain, or homeowners planning to stay long-term |
| Wood-clad | Needs consistent maintenance on any exposed wood or seams where cladding meets frame; more upkeep in a marine environment | Homes prioritizing a specific interior wood appearance, paired with a realistic maintenance plan |
| Aluminum | Prone to corrosion and thermal transfer near salt air unless it's a thermally broken, marine-rated product | We generally steer homeowners away from standard aluminum on exposed Skyline elevations |
We're not tied to one manufacturer, and we'll tell you honestly if a product a homeowner is asking about isn't a good match for their specific exposure — for instance, a west-facing wall that takes the full brunt of storms coming up the channel deserves a frame and installation approach that a sheltered, tree-lined lot might not need.
Our Process, Start to Finish
1. On-Site Assessment
We walk the exterior with you, look at each window's exposure, check for existing moisture or rot signs, and talk through which rooms are driving comfort or energy complaints. This is also when we measure and note any openings that are out of square or have non-standard sizing.
2. Product Selection
Based on exposure, budget, and how long you plan to stay in the home, we recommend specific frame materials and glass packages — no pressure toward the most expensive option if it's not warranted for a given elevation.
3. Written Estimate
You get a clear scope: what's being removed, what's going in, what flashing and sealant work is included, and a realistic cost range with the actual line items, not a vague lump sum.
4. Installation
Crew arrives with the openings prepped for weather — we don't leave a house open to the elements overnight during a wet-season install if it can be avoided, and we sequence multi-window jobs to minimize exposed openings at any one time.
5. Final Walkthrough
We check operation, seals, and finish work with you before calling the job done, and point out anything worth knowing about care going forward.
Maintenance That Actually Matters Here
Even a well-installed window needs a little seasonal attention in a climate like ours. A short annual routine goes a long way:
- Wipe down frames and hardware to clear salt residue, especially after storms — salt buildup is what accelerates hardware wear.
- Check and clear weep holes at the bottom of the frame so water has somewhere to drain instead of pooling.
- Inspect exterior caulking and sealant joints each fall before the wet season sets in; a small gap now is a bigger repair later.
- Keep gutters and nearby vegetation clear so runoff isn't sheeting directly across window heads.
- Operate each window through its full range a few times a year so seals and hardware don't seize from disuse.
Cost Factors Worth Understanding
We don't publish flat pricing because the honest range depends on real variables, but here's what actually moves the number on a Skyline project:
| Factor | Why It Matters |
|---|---|
| Number and size of openings | More straightforward math — larger and more openings mean more material and labor |
| Frame material chosen | Vinyl, fiberglass, and wood-clad carry different material costs and different long-term maintenance costs |
| Condition of existing framing | Any sheathing or framing repair found during removal adds scope, which is why we flag it rather than hide it |
| Exposure and access | Elevated or hard-to-access windows on a sloped Skyline lot take more time and equipment than ground-floor units |
| Glass package | Upgraded low-E coatings or gas fills add cost but can matter more on certain orientations than others |
Why a Crew That Already Works Skyline Matters
Skagit County's building conditions aren't identical from one neighborhood to the next, and Skyline's elevation and exposure to weather coming up the channel is its own set of considerations. A crew that's already worked on this hill knows which elevations typically need extra flashing attention, how the local moss and moisture pattern behaves through the year, and what realistic timelines look like around our wet season. That familiarity means fewer surprises during the job and a better match between the product recommended and what the specific home actually needs — rather than a generic recommendation that ignores the site.
If you're weighing options for your home in Skyline or elsewhere around Anacortes, we're happy to take a look and give you a straight assessment — no pressure, no inflated urgency. Request a free estimate through the form below and we'll walk the property with you.