 Anacortes Siding
 Why Cap Sante Siding Takes a Different Kind of Beating
Homes on and around Cap Sante sit close to open water, often with direct exposure to wind coming off the marina and the channel. That combination of salt-laden air, driving rain, and long stretches of shade from mature trees and hillside terrain creates conditions that are noticeably harder on exterior siding than what you'd see a few miles inland in Skagit County. Salt air accelerates corrosion on fasteners and metal trim. Wind-driven rain finds every weak seam, lap joint, and unsealed penetration. And the region's long moss season — roughly fall through spring — means shaded, north-facing walls stay damp for weeks at a time, which is exactly the environment moss, algae, and wood rot need to take hold.
None of this means a home is doomed to constant siding problems. It means siding repair here has to account for moisture behavior, not just cosmetic damage. A patch that looks fine on day one but doesn't address how water is getting in — or staying in — will fail again, usually within a season or two.
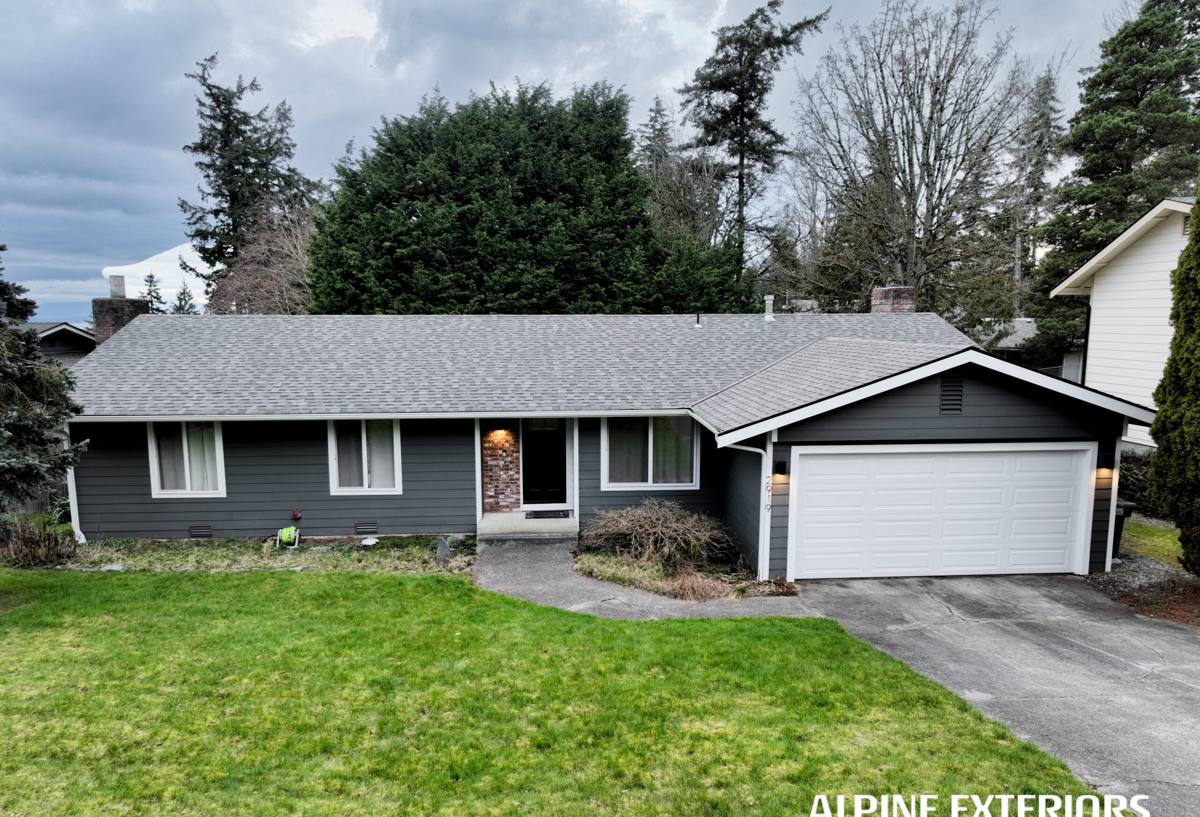
Signs Your Siding Needs Repair, Not Just a Repaint
A lot of siding problems get masked with paint or caulk instead of actually fixed. Before any repaint or touch-up, it's worth checking for the underlying issues that repaint alone won't solve:
- Soft or spongy spots when you press on the siding, especially near the bottom courses or around windows and doors
- Dark streaking, green or black growth, or persistent moss on shaded or north-facing walls
- Cracked, bubbled, or peeling paint that keeps coming back in the same spots year after year
- Rust streaks below nail heads or trim fasteners — a sign the fasteners themselves are corroding
- Gaps opening up at butt joints, corner boards, or where siding meets trim, flashing, or the foundation
- Visible warping, cupping, or separation of boards or panels
- Musty smell or damp drywall on an interior wall that backs up to an exterior section showing outside damage
Any one of these can be an isolated, cheap fix. Several of them together, especially on the same wall, usually point to a moisture problem that's been developing behind the siding for a while.
Repair vs. Replace: How We Make the Call
Not every damaged section needs to come off the wall, and not every problem can be fixed with a patch. The decision usually comes down to how far the damage extends, how old the existing siding is, and whether the underlying water-resistive barrier and flashing are still doing their job.
| Factor | Points Toward Spot Repair | Points Toward Larger Replacement |
|---|---|---|
| Extent of damage | Isolated to one or two boards/panels | Spread across a wall or multiple elevations |
| Cause | Impact damage, a failed caulk joint, isolated fastener corrosion | Long-term moisture intrusion behind the cladding |
| Age of existing siding | Newer siding still under warranty, good condition elsewhere | Original siding near or past its expected service life |
| Sheathing/framing condition | Solid, dry sheathing once siding is opened up | Soft, stained, or rotted sheathing found during inspection |
| Color match | Recent enough that factory finish or paint can be matched closely | Discontinued color or heavily weathered surface that won't match |
We won't push a full re-side when a targeted repair will genuinely hold up — but we also won't patch over rotted sheathing or a failed weather barrier just to save a call-back. If we find something more serious once a section is opened up, we'll show you what we're seeing before doing any additional work.
Cost Factors Worth Understanding
Siding repair pricing swings on a few practical things: how much of the wall assembly has to come off to reach the damage, whether hidden sheathing repair is needed, how many trades are involved (siding, flashing, sometimes minor framing), and how closely the replacement material needs to match what's already there. A single board swap is a modest job. Opening up a wall section to repair rotted sheathing behind it is a different scope entirely, even if the visible damage looks similar from the ground.
What a Correct Repair Actually Involves
Moisture Investigation Before Any Patching
Cutting out a damaged board and slapping in a new one without figuring out why it failed just buys time. A proper repair starts with finding the water's path — a cracked caulk joint, a missing kick-out flashing, a nail hole that was never sealed, or a grade/landscaping issue pushing splash-back onto the lower courses. Moisture meter readings on the surrounding material tell us whether the problem is contained or has traveled further than the visible damage suggests.
Matching Existing Material
If the home has factory-finished fiber cement siding, matching color and profile matters. Factory finishes are more consistent and fade-resistant than field-applied paint, but colors and board profiles do change over time, so an exact match isn't always possible on an older home. Where an exact match isn't realistic, we'll talk through the options — matching by full elevation, a close field-paint match, or accepting a slight difference on a less visible wall — rather than surprising you with a patch that stands out.
Fasteners and Hardware
In a coastal-influenced climate like this, fastener choice matters more than people expect. Standard fasteners corrode faster near salt air, which is exactly what causes those rust streaks below nail heads. Corrosion-resistant fasteners cost a little more up front and save a repeat repair down the line.
Flashing and Drainage Details
A huge share of siding failures trace back to flashing, not the siding material itself — missing head flashing over a window, a butt joint without proper overlap, or a wall assembly with no way for incidental water to drain back out. Any repair we do addresses the drainage path, not just the visible board.
Our Repair Process
- Inspection and diagnosis — we look at the damaged area plus surrounding sections, checking moisture levels and looking for the actual water source, not just the symptom.
- Scope review with you — before opening anything up, we explain what we found and what the repair will involve, including if we suspect the damage goes beyond what's visible.
- Careful removal — damaged material comes off without unnecessary disturbance to sound siding around it.
- Sheathing and barrier check — once the siding is off, we confirm the sheathing and water-resistive barrier underneath are sound, or repair them if they're not.
- Flashing correction — any flashing or drainage detail that contributed to the failure gets fixed as part of the repair, not left as-is.
- Installation and finishing — new material is installed to manufacturer spec, with corrosion-resistant fasteners and properly sealed joints, then finished to match as closely as the situation allows.
Why We Point Toward Hardie Fiber Cement in Repair Work
When a repair calls for replacing a section of siding — rather than just fixing a flashing or caulk detail — the material we install is James Hardie fiber cement. It's non-combustible, holds up to sustained damp exposure far better than wood-based products, and its ColorPlus factory finish resists the fading and peeling that shaded, moss-prone walls tend to accelerate. For a home already clad in Hardie, replacement sections integrate cleanly with the existing product line. For a home with older wood, vinyl, or other siding where repeated repairs in the same spot suggest the material itself is the problem, we'll say so plainly — and if a fuller re-side eventually makes more sense than another round of patches, Hardie is what we recommend and what we install, backed by a strong transferable warranty when installed to spec.
Why Hiring a Crew That Already Works This Area Matters
Siding repair isn't just carpentry — it's understanding how a specific site behaves. A crew that's worked Cap Sante and the surrounding Anacortes waterfront knows which elevations take the worst wind-driven rain, which shaded walls need extra attention for moss and algae, and how salt air affects material and fastener choices over time. That local pattern recognition shortens the diagnosis phase and reduces the odds of a repair that looks right but doesn't actually solve the underlying moisture problem.
Simple Maintenance That Extends the Life of a Repair
A well-done repair still benefits from basic upkeep, especially in a marine climate:
- Rinse moss and algae off shaded walls before it builds up into a thick mat
- Keep gutters clear so overflow doesn't run down the siding face
- Trim back vegetation that keeps a wall shaded and damp longer than it needs to be
- Re-caulk joints at windows, doors, and trim before gaps become water paths
- Walk the exterior once a year, particularly after a hard winter storm season, looking for the early warning signs listed above
Getting an Honest Look at What You're Dealing With
Most siding problems on Cap Sante homes are manageable once you know what's actually causing them — the trick is diagnosing the real issue instead of just covering it up. If you're seeing soft spots, moss buildup, or recurring paint failure on your siding, we're happy to come take a look, explain what we find, and give you a straightforward, no-pressure estimate for fixing it right. There's a form below if you'd like to get that started.