 Anacortes Siding
 Siding Installation for Edison's Coastal Farmland Climate
Edison sits low in the Skagit Valley, close enough to the saltwater flats that the air itself works against a house year-round. Homes here deal with a combination that's harder on siding than most inland neighborhoods realize: salt-laden air moving in off the bay, driving rain that comes in sideways during winter storms, and long stretches of overcast, damp weather that keep shaded walls wet for days at a time. Add in the moss and algae that thrive in that dampness, and you've got a climate that will find every weakness in a siding system within a few years, not a few decades.
We install siding specifically with that combination in mind. This page covers what Edison homes actually need from a siding job, what correct installation looks like, and why we only put James Hardie fiber cement on the houses we work on.
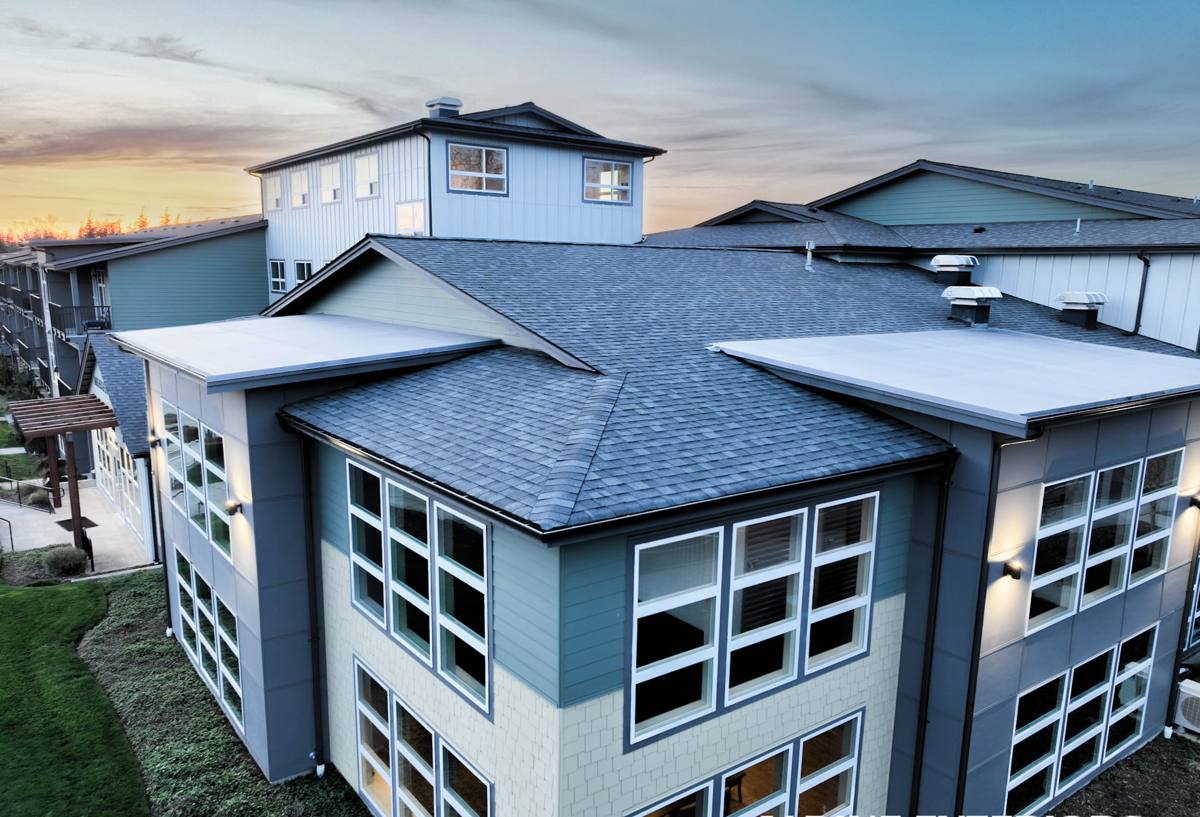
What Edison Homes Need From Their Siding
Salt Air and Metal Fatigue
Salt air doesn't just affect homes directly on the water. Wind carries fine salt particles well inland, and over time that salt accelerates corrosion on anything metal — fasteners, flashing, trim screws, even the cut edges of some siding products. A siding system that depends on exposed metal components or that traps moisture against fasteners will show rust streaks and premature failure sooner in Edison than it would forty miles inland. Material choice and fastener choice both matter here, not just the color on the wall.
Moss, Algae, and Prolonged Dampness
Edison's low elevation and proximity to water mean fog and dew linger longer than they do in drier, higher parts of Skagit County. North- and east-facing walls, and anything shaded by trees or a neighboring structure, stay damp for extended periods. That's exactly the environment moss and algae need to take hold. Siding that absorbs moisture or that has a factory finish prone to breaking down gives moss something to grip. A siding surface that sheds water and holds its finish resists that growth far longer.
Driving Rain and Wind-Driven Water
Winter storms coming off the water don't just fall — they push. Wind-driven rain gets forced sideways and upward into laps, seams, and penetrations that would stay dry in a calmer climate. This is where installation detail matters as much as the product itself: proper lap coverage, correct flashing at windows and penetrations, and a water-resistive barrier that's actually installed to shed water downward and outward. A siding job that looks fine on a dry day can fail its first real Edison storm if those details were skipped.
Why We Install James Hardie Fiber Cement Here
We only install James Hardie fiber cement siding — not vinyl, not LP SmartSide, not Cemplank, Allura, primed spruce, or cedar. That's a deliberate standard, not a lack of options. In a climate like Edison's, the trade-offs of the alternatives show up faster than they would in a milder area:
- Vinyl expands and contracts with temperature swings, can warp under sustained sun and cold cycles, and its seams and J-channels give wind-driven rain more paths inward.
- Wood-based products like LP SmartSide, primed spruce, and cedar rely on an intact factory or field-applied coating to keep moisture out. Once that coating is compromised — by a nail pop, a scratch, or normal weathering — the wood substrate underneath is vulnerable to rot, and Edison's damp cycle doesn't give a compromised coating much time to dry out before the next storm.
- Fiber cement alternatives to Hardie, like Cemplank and Allura, are legitimate cement-based products, but we've standardized on Hardie specifically for its ColorPlus factory finish, its climate-engineered HZ product lines, and the depth of its installation documentation and warranty support.
James Hardie fiber cement is non-combustible, doesn't provide moss or algae anything organic to feed on the way wood-based products can, and its ColorPlus finish is baked on and warrantied against fading and cracking — which matters in a climate that keeps siding wet and UV-exposed in cycles rather than consistently dry. Hardie's HZ5 product line is engineered for exactly this kind of wet, marine-influenced Pacific Northwest exposure.
What a Correct Siding Installation Involves
The siding material is maybe half the equation. The other half is installation detail, and in a climate like Edison's, sloppy detail work is where failures start. A correct James Hardie installation includes:
- A properly lapped, continuous water-resistive barrier behind the siding — not just stapled up loosely, but installed to shed water downward at every overlap.
- Correct flashing at every window, door, and penetration, integrated with the water-resistive barrier so water is directed out and down, never trapped behind the cladding.
- Fastener placement, spacing, and depth that follow James Hardie's published installation instructions — over- or under-driven nails are a common cause of early siding failure.
- Correct minimum clearances from grade, roof lines, and decks, so splash-back and standing water don't sit against the bottom edge of the siding.
- Factory-caulked or properly field-caulked joints at trim and penetrations, using products compatible with Hardie's finish.
Two Approaches to Installation — What the Difference Actually Means
| Installation Detail | Minimum/Face-Nailed Approach | Correctly Detailed Installation |
|---|---|---|
| Water-resistive barrier | Installed but laps not consistently shingled | Continuous, correctly lapped, integrated with flashing |
| Window and door flashing | Caulk relied on as the primary seal | Flashed and integrated with WRB; caulk is secondary, not primary |
| Fastening | Fasteners driven by feel, spacing approximated | Fastener type, spacing, and depth follow Hardie's published specs |
| Clearance from grade/roof | Minimums not verified | Verified against manufacturer minimums at every elevation |
| Long-term result in a wet climate | Higher risk of trapped moisture, early caulk failure, moss | Water sheds as designed; siding performs closer to its rated lifespan |
Both approaches can look identical the day the job finishes. The difference shows up two, five, and ten winters later — which is exactly why installation detail deserves as much scrutiny as the siding brand itself.
Our Process for an Edison Siding Installation
- On-site assessment. We look at the existing siding, sheathing, and any signs of moisture damage before quoting anything — not from a photo, in person.
- Tear-off and sheathing check. Removing the old siding lets us inspect the sheathing underneath for rot or soft spots, which is common to find on older homes in a damp climate and needs to be addressed before new siding goes up, not covered over.
- Water-resistive barrier and flashing. We install the WRB and flash every window, door, and penetration before a single piece of siding goes up.
- Hardie installation to manufacturer spec. Panels or planks are installed following James Hardie's fastening, spacing, and clearance requirements for our exposure and product line.
- Trim, caulking, and finish detail. Joints and penetrations are sealed with compatible products, and touch-up work is done where field cuts exposed raw edges.
- Cleanup and walkthrough. We walk the finished job with the homeowner before calling it done.
Signs Your Edison Home's Siding Needs Attention
If you're not sure whether your current siding needs to be replaced or just repaired, look for:
- Soft or spongy spots when you press on the siding, especially near the bottom courses or under windows
- Visible moss or dark algae staining that comes back quickly after cleaning, particularly on shaded or north-facing walls
- Peeling, bubbling, or chalking paint or finish, or boards that no longer hold paint the way they used to
- Rust streaking below fasteners or trim
- Gaps opening up at seams, corners, or trim joints
- Warping, cupping, or visible board separation
- Rising energy bills that suggest air and moisture are getting past the wall assembly
Why Hire a Crew That Already Works in Edison
A crew that already works this part of Skagit County knows what the salt air and moss cycle actually do to a wall over time — not in the abstract, but from having torn old siding off Edison-area homes and seen exactly where it failed first. That translates into practical decisions on your job: where extra flashing attention matters most, which elevations need the most moisture protection, and how to detail a job so it's still performing well after a decade of Edison winters rather than just looking good on installation day. It also means straightforward logistics — material delivery, scheduling around weather windows, and permitting familiarity with the county — without the guesswork a crew unfamiliar with the area would be working through for the first time on your house.
Get a Free Estimate
If your Edison home's siding is showing its age, or you're planning ahead for a replacement, we're happy to come take a look and give you a straightforward, no-pressure estimate. Use the form below to get started.