 Anacortes Siding
 Flounder Bay's Windows Work Harder Than Most
Homes around Flounder Bay sit close enough to the water that wind-driven rain and salt-laden air are part of daily life, not an occasional event. Add Skagit County's long gray season, where moss and algae get a running start on any surface that stays damp, and you have a set of conditions that will find every weakness in a window installation within a few winters. Window units themselves are usually built to handle weather. What fails first, almost always, is the installation around them: the flashing, the sealant lines, the way water is directed away from the opening instead of into it.
We install windows across Anacortes and the rest of Skagit County, and the jobs closest to the water — including Flounder Bay — get treated differently from the start. The frame material, the flashing sequence, and even the caulk we choose all shift when the site sits in a salt-air exposure zone.
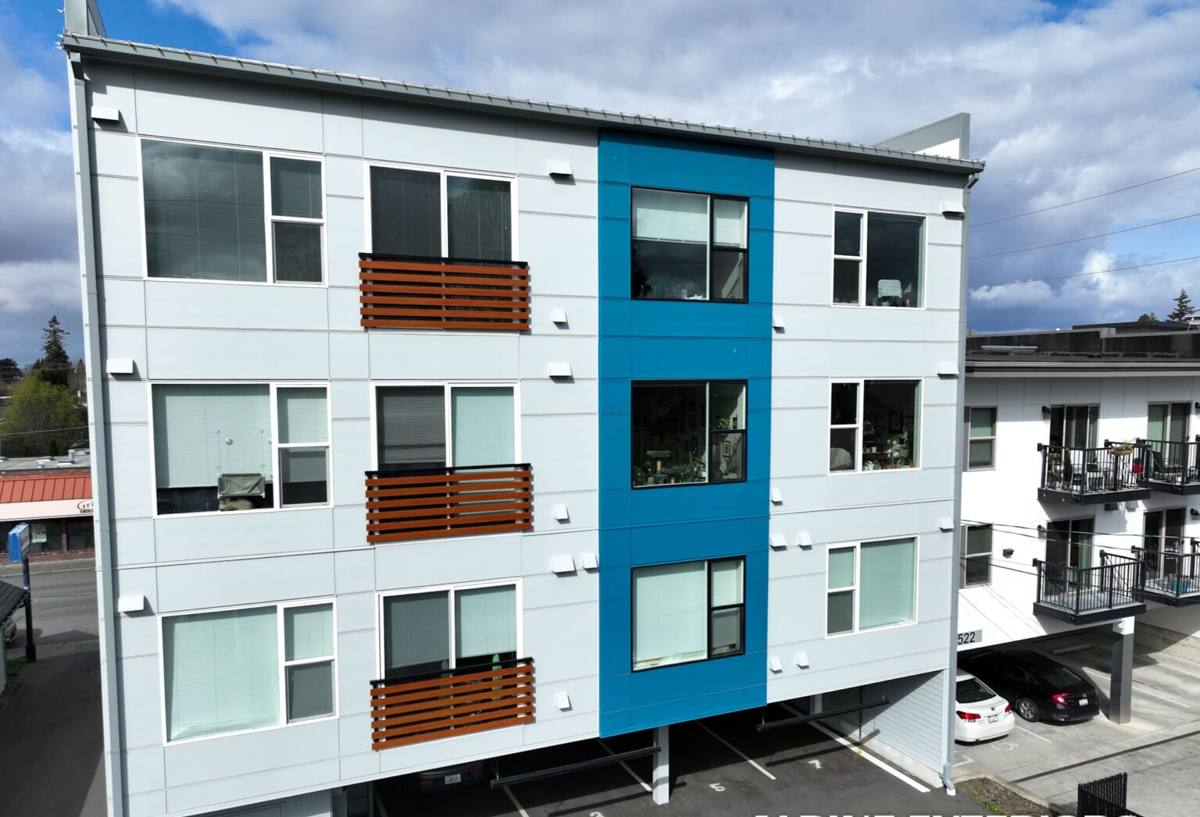
What Salt Air and Driving Rain Actually Do to a Window Opening
Salt Air
Airborne salt is corrosive to unprotected metal fasteners, some aluminum components, and certain hardware finishes. Over years, it can pit and weaken parts that were never rated for a marine-adjacent environment. It also tends to accelerate the breakdown of lower-grade sealants, so a caulk joint that would last a decade inland can fail in half that time near the bay.
Wind-Driven Rain
Ordinary rain falls straight down and mostly runs off a wall. Wind-driven rain gets pushed sideways and upward, which means it can work its way behind trim, under sills, and into gaps that would never see water in a calmer location. A window that's watertight in a still rain can still leak in a Flounder Bay windstorm if the flashing wasn't built with that lateral pressure in mind.
Moss Season
Western Washington's wet months run long, and anywhere moisture lingers, moss and algae follow. On window sills, exterior trim, and anywhere caulk has started to crack, that growth holds water against the building and speeds up rot. It's a slow problem, which is exactly why it gets ignored until a sill or jamb is already soft.
What Correct Window Installation Involves
A window installation is really two jobs layered together: the window itself, and the weatherproofing envelope around it. Skipping or rushing the second job is the single biggest cause of window-related water damage we see in this region.
- Opening inspection — checking the existing sheathing, sill, and framing for rot or soft spots before anything new goes in.
- Flashing installed in the correct order — sill pan first, then side flashing, then head flashing, each one lapped over the one below so water is always directed outward and down, never trapped.
- Sill pan with a positive slope — so any water that does get past the window has somewhere to go besides sitting on bare wood.
- Backer rod and sealant sized correctly — a bead of caulk over a gap that's too wide or too narrow fails early regardless of how good the product is.
- Corrosion-resistant fasteners — a real consideration for anything within a few blocks of the water, not just a nice-to-have.
- Interior air sealing — insulating and sealing the interior gap so conditioned air isn't leaking out and pulling moisture in behind the trim.
Any one of these steps done wrong can look fine for a year or two before it shows up as a stain, a soft sill, or a draft. That lag is part of why cutting corners on installation is such an easy mistake to make — and such an expensive one to catch late.
Signs a Flounder Bay Home's Windows Are Losing the Battle
Because failures build slowly in this climate, most homeowners don't notice a problem until it's already established. Worth checking for:
- Cracked, shrunken, or missing caulk around the exterior frame
- Moss or dark staining collecting on sills or trim
- Soft or spongy wood when you press on a sill or lower jamb
- Fogging or moisture between panes on double-glazed units (a seal failure inside the glass itself)
- A noticeable draft or whistling during wind events
- Paint bubbling or peeling near the window frame, often a sign of moisture trapped underneath
Any of these, especially the soft-wood test, is worth having looked at before it spreads into the surrounding wall framing.
Choosing a Window Material for This Environment
There's no single "best" window material — the right choice depends on exposure, budget, and how much upkeep a homeowner wants to take on. Near the water, the trade-offs shift a bit compared to an inland Skagit County property.
| Frame Material | Salt-Air Performance | Maintenance | Notes for Flounder Bay Sites |
|---|---|---|---|
| Vinyl | Good — won't corrode | Low | Solid value option; check hardware and reinforcement quality on higher-exposure elevations |
| Fiberglass | Very good — dimensionally stable, resists salt and moisture | Low | Handles temperature swings and coastal exposure well; typically a higher upfront cost |
| Wood (clad exterior) | Fair to good, depending on cladding | Moderate to high | Attractive option, but the exterior cladding and all seams need to be fully intact to keep moisture off the wood core |
| Aluminum | Fair — prone to corrosion and condensation without upgraded coatings | Moderate | We generally steer homeowners away from standard aluminum this close to the water unless it's a marine-rated product |
We're not going to tell a homeowner their existing windows are junk — plenty of materials perform fine here when they're installed and maintained correctly. But if a homeowner is choosing new windows for a Flounder Bay property, we'll walk through these trade-offs honestly rather than just upselling the most expensive option.
Our Installation Process
- On-site assessment — we look at existing window condition, framing, and the specific exposure of each elevation (a window facing open water gets different attention than one on a sheltered side).
- Product selection — matched to the home's exposure, style, and budget, with the trade-offs explained plainly.
- Removal and opening inspection — old units come out carefully so we can check the framing underneath before it's covered back up.
- Flashing and sill pan installation — done in sequence, not skipped or shortcut, regardless of whether it adds a bit of time to the job.
- Window setting and shimming — leveled and secured so the unit operates smoothly and seals evenly for years, not just on install day.
- Sealing, interior finish, and cleanup — exterior sealant sized and tooled correctly, interior trim reset, site left clean.
- Final walkthrough — operating every window with the homeowner before we consider the job done.
What Affects the Cost of a Window Installation
Every home is different, but the main cost drivers on a Flounder Bay job tend to be the same handful of factors.
| Factor | Why It Matters |
|---|---|
| Number and size of openings | Larger and more numerous windows mean more material and labor |
| Frame material chosen | Vinyl, fiberglass, and clad wood carry different price points and long-term maintenance costs |
| Condition of the existing opening | Rot or framing repair discovered during removal adds time and material |
| Exposure level of the elevation | Higher wind/rain-exposed walls may call for upgraded flashing details |
| Access and site conditions | Upper-story or difficult-access windows take longer to stage and complete safely |
We give straightforward, itemized estimates so a homeowner can see exactly what's driving the number, rather than a single lump figure.
Why It Matters That We Already Work in Flounder Bay
Anacortes and the surrounding Skagit County coastline aren't uniform — a window detail that holds up fine a few miles inland can underperform on a more exposed waterfront lot. Crews who work this specific area regularly get a feel for which elevations catch the worst of the wind-driven rain, how fast moss establishes on north-facing sills here, and which flashing details actually hold up through a full wet season rather than just looking right on installation day. That local pattern-recognition doesn't show up on a spec sheet, but it shows up in how long the work lasts.
It also means less guesswork for the homeowner. We're not learning this coastline on someone's project — we're applying what we've already seen work and not work nearby.
Keeping New Windows Performing Long-Term
A correct installation is most of the battle, but a little homeowner upkeep extends the life of the work substantially:
- Rinse salt residue off exterior frames and glass periodically, especially after storms
- Check exterior caulk lines once a year for cracking or gaps
- Clear moss or debris from sills before it holds moisture against the frame
- Operate every window a few times a year, even ones rarely opened, to keep hardware and seals working
- Address any soft trim or staining early rather than waiting for it to spread
None of this is complicated, but it's the difference between a window installation that looks good for two years and one that performs well for two decades in a Flounder Bay exposure.
Get a Straight Answer for Your Home
If you're dealing with drafty, foggy, or aging windows on a Flounder Bay property, or you're planning ahead for a remodel, we're happy to take a look and give you an honest read on what your home actually needs — no pressure, no upsell. Use the form below to request a free estimate, and we'll walk the property with you before recommending anything.