 Anacortes Siding
 Why La Conner Homes Need a Different Approach to Siding
La Conner sits close enough to the water that salt air is part of daily life, not an occasional nuisance. Add in the driving rain that comes off the Salish Sea through fall and winter, plus a moss season that stretches longer here than it does further inland in Skagit County, and you've got a climate that is genuinely hard on exterior building materials. Siding installed without that reality in mind tends to show its age fast — fading, swelling, staining, or pulling away from the wall well before it should.
We install siding throughout the Anacortes and greater Skagit County area, and La Conner comes with its own specific set of demands. This page walks through what a correct siding installation looks like for a La Conner home, why we install James Hardie fiber cement exclusively, and how our process is built around this specific coastal environment rather than a generic install checklist.
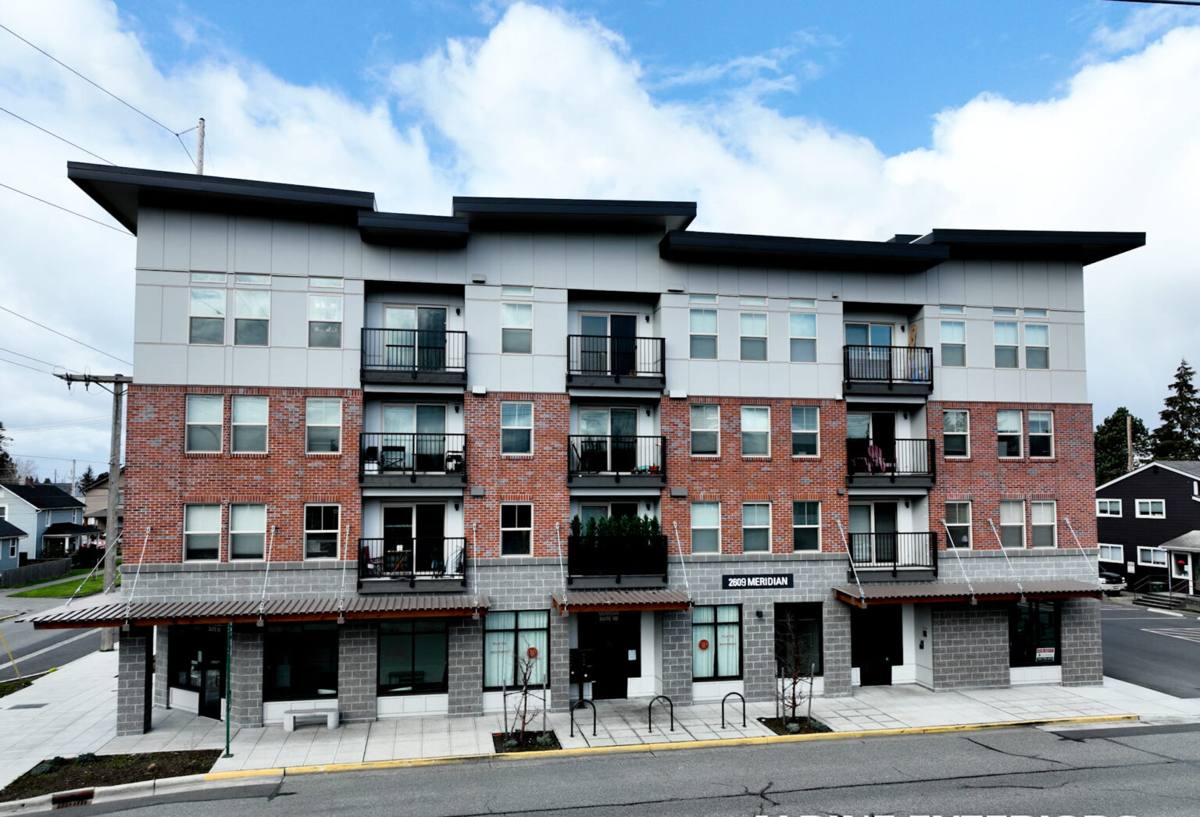
What Salt Air, Rain, and Moss Actually Do to Siding
Salt Air
Airborne salt doesn't just sit on a surface — it works its way into seams, fasteners, and any spot where the finish is compromised. Over years, that steady exposure accelerates corrosion on fasteners and trim, and it breaks down finishes that weren't engineered to handle it. Homes closer to the water see this faster, but La Conner's proximity to the Swinomish Channel and the broader Salish Sea means salt exposure is a factor for most properties in the area, not just waterfront ones.
Driving Rain
Wind-driven rain finds every gap in a siding system. It's not the water hitting the face of the siding that causes the most damage — it's water that gets pushed behind panels, into unsealed joints, or up under poorly lapped pieces. Once moisture gets behind siding and can't dry out, you're dealing with rot in the sheathing and framing long before the siding itself looks bad from the street.
Moss and Sustained Dampness
Skagit County's moss season runs long, and La Conner's mix of marine humidity and tree cover gives moss and algae plenty of time to establish themselves on north-facing walls, under eaves, and anywhere sun exposure is limited. Moss holds moisture against the siding surface, which extends the time that material stays wet after every rain event. Materials that absorb water or swell when damp are at a real disadvantage here.
Why We Install Only James Hardie Fiber Cement
We made a decision as a company to install one siding system: James Hardie fiber cement. We don't install vinyl, LP SmartSide, primed spruce, cedar, or other fiber cement brands like Cemplank or Allura. That's not a marketing position — it's a standard we hold because of what we've seen matters most in this specific climate.
Fiber cement is non-combustible and dimensionally stable, meaning it doesn't expand, contract, or absorb moisture the way wood-based products do. James Hardie's HZ5 product line in particular is engineered for climates with high moisture exposure — which describes La Conner well. The ColorPlus factory finish is baked on under controlled conditions, which gives it better UV and moisture resistance than field-applied paint, and it holds up to the kind of prolonged damp exposure that moss season creates.
We're not going to tell you every other product on the market is bad — plenty of them perform reasonably well in the right conditions. But installing correctly for La Conner means accounting for salt air, driving rain, and long stretches of damp shade, and James Hardie's fiber cement system is what we trust to hold up to all three at once, backed by a warranty structure that's meant to actually mean something years down the road.
What a Correct Siding Installation Involves Here
The siding itself is only part of the system. In a climate like this, the installation details matter as much as the product choice — maybe more.
- Weather-resistive barrier: A properly lapped and sealed water-resistive barrier behind the siding, installed so any moisture that does get past the cladding drains out instead of soaking into the wall assembly.
- Rainscreen or drainage gap: Especially on walls exposed to driving rain and salt air, a drainage gap lets bulk water and moisture vapor escape rather than sitting against the back of the siding.
- Correct fastening: Fasteners rated for coastal exposure, driven to Hardie's specifications — not overdriven, not underdriven — so the panels perform as engineered and aren't a weak point for corrosion.
- Proper flashing at every penetration: Windows, doors, hose bibs, light fixtures, and vents are common places where driving rain finds its way behind siding if flashing is skipped or done carelessly.
- Correct joint treatment and caulking: Butt joints and trim transitions need to be treated per manufacturer spec, using products rated for the exposure, not general-purpose caulk that will fail in a few seasons.
- Clearance from grade and hardscaping: Keeping the bottom edge of siding properly clear of soil, mulch, and paved surfaces reduces splash-back moisture and gives moss less of a foothold at the base of the wall.
Skip any one of these and you can end up with premium siding material performing like a budget product, because the system around it wasn't built for the conditions it's facing.
Our Installation Process for La Conner Properties
1. On-Site Assessment
We look at more than square footage. Sun exposure, wind direction, proximity to water, existing moss or moisture staining, and the condition of the wall assembly underneath all factor into how we plan the install.
2. Removal and Wall Inspection
Once old siding comes off, we inspect the sheathing and framing for any rot or moisture damage that was hidden underneath. This is often the first real look anyone has had at the wall assembly in years, and it's the point where problems get caught before they're sealed back up.
3. Water Management Layer
We install the weather-resistive barrier and drainage plane appropriate to the exposure level of each wall, paying particular attention to walls facing prevailing wind and rain.
4. Hardie Installation to Spec
Panels, fasteners, joints, and flashing details are installed to James Hardie's published specifications — not a shortcut version. This is what keeps the manufacturer warranty intact and what actually determines how the siding performs in year ten, not just year one.
5. Final Detailing
Trim, caulking, and touch-up work get the same attention as the field panels. A siding job that looks clean but has sloppy detailing at the joints is a job that will show problems early.
Comparing Approaches: Why Details Matter More Here Than Elsewhere
| Factor | Standard Install Approach | Approach Built for La Conner's Climate |
|---|---|---|
| Fasteners | Standard fasteners, general spacing | Corrosion-resistant fasteners, spec'd spacing for coastal wind exposure |
| Water barrier | Basic wrap, minimal lap detail | Fully lapped and sealed barrier with drainage gap on exposed walls |
| Flashing | Flashed at major penetrations only | Flashed at every penetration, sized for driving rain |
| Product finish | Field-primed or field-painted | Factory-applied ColorPlus finish rated for UV and moisture |
| Grade clearance | Not always addressed | Clearance maintained to reduce splash-back and moss growth |
None of these differences show up in a quick visual inspection right after installation. They show up in year five, year ten, and year twenty — which is exactly when they matter most to a homeowner.
What to Expect: A Practical Checklist Before You Commit
- Ask whether the contractor installs to James Hardie's written specifications, including fastener type and flashing details, not just "James Hardie products."
- Confirm whether a drainage gap or rainscreen approach is included for walls with heavy rain or sun exposure.
- Ask how the crew handles moisture found behind existing siding during removal — this tells you a lot about how thorough the process is.
- Get clarity on what warranty applies to labor versus the manufacturer's material warranty, and what voids each one.
- Ask about experience specifically with coastal or waterfront-adjacent properties in Skagit County, not just general siding experience.
Why Local Experience in La Conner Matters
A crew that has worked on La Conner homes before already knows which walls tend to take the worst of the driving rain, which sides of a house stay damp longest and grow moss fastest, and how much of a difference proper detailing makes in this specific setting. That's not something you get from a general siding background alone — it comes from doing the work here, seeing how earlier installations held up or didn't, and adjusting accordingly.
We work throughout Anacortes and Skagit County, and La Conner's coastal conditions are one of the more demanding environments we install in. That's exactly why we don't cut corners on the water management details, and why we standardized on a fiber cement product engineered for climates like this one.
Ready to Talk About Your Home?
If your siding is showing moss staining, worn finish, or signs of moisture damage, or if you're planning ahead for a replacement, we're happy to take a look and talk through what your home specifically needs. Reach out for a free, no-pressure estimate — we'll walk the property, answer your questions honestly, and give you a clear picture of what correct installation looks like for your home.