 Anacortes Siding
 New-Construction Windows for Mount Vernon Homes: Getting It Right the First Time
Building new in Mount Vernon means you get one real shot at the window install before siding, trim, and interior finish close everything up behind it. Get the flashing sequence wrong, skip a step in the sill pan, or rush the sealant, and the mistake gets buried until it shows up years later as a stain on drywall or a soft spot in the sheathing. We install new-construction windows on homes going up throughout the Skagit Valley, and we treat the rough-opening stage as the most important few hours of the whole build — because it is.
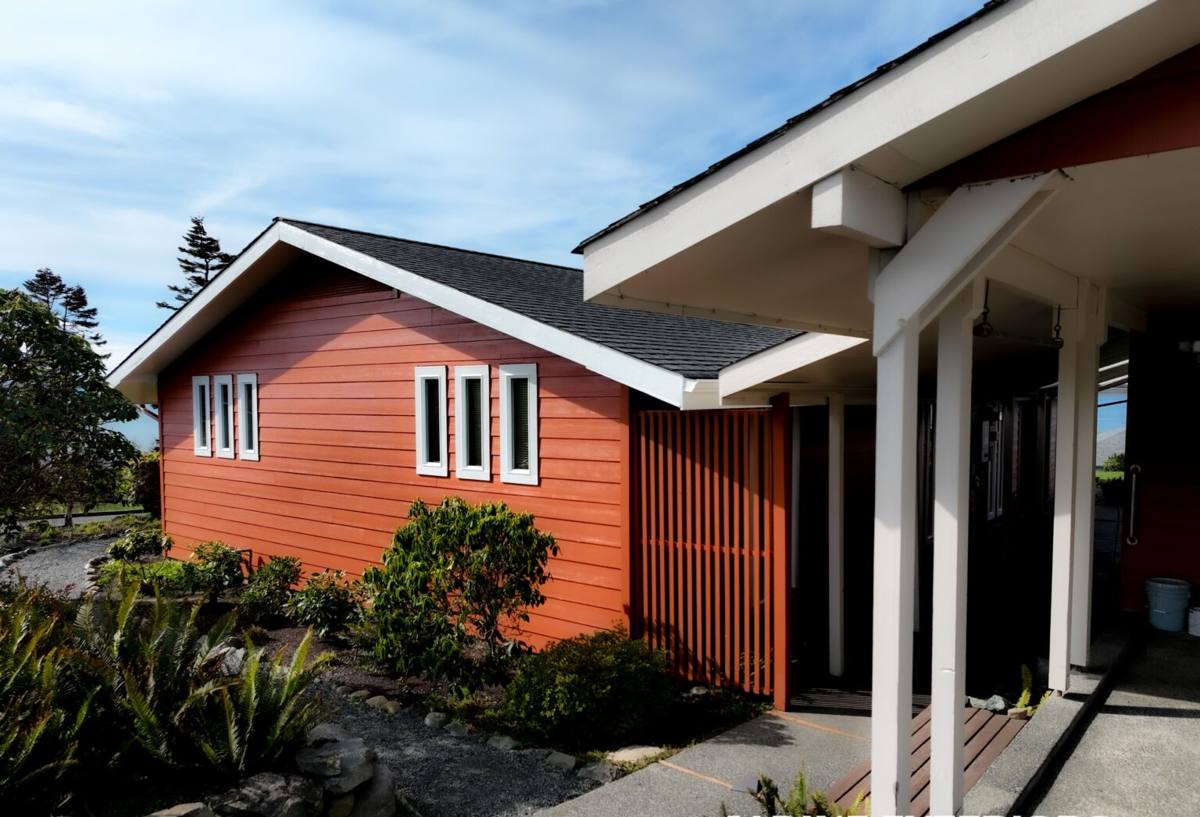
How the Skagit Valley Climate Shapes the Install
Mount Vernon sits inland along the Skagit River, but it's still part of the same Puget Sound weather system that soaks Anacortes and the rest of Skagit County. Marine air off the Sound pushes up the valley, driving rain sideways during fall and winter storms, and keeping humidity high enough, long enough, that moss and algae get a real foothold on anything that stays damp. A new-construction window install has to be built for that reality from day one, not retrofitted for it later.
Rain and Wind-Driven Moisture
Wind-driven rain doesn't just hit a window head-on — it gets pushed sideways and up under trim, siding laps, and poorly lapped flashing. On a new build, the only defense is a flashing and water-resistive barrier (WRB) sequence that sheds water downward and outward at every layer, with no reverse laps anywhere in the assembly.
Salt-Influenced Marine Air
Even away from the immediate coastline, the marine air reaching Mount Vernon carries enough moisture and mild salinity to accelerate corrosion on unprotected fasteners and hardware over time. We spec corrosion-resistant fasteners and hardware as standard, not as an upgrade, because replacing a rusted hinge or a streaking fastener head is a lot more expensive than specifying it correctly the first time.
Moss, Algae, and Prolonged Dampness
Skagit County's long wet season means anything that stays damp — a sill that doesn't drain, a horizontal trim ledge, a low spot in flashing — becomes a growth surface for moss and algae. Correct slope and drainage detailing at every window opening keeps water moving off the assembly instead of sitting on it.
New-Construction vs. Replacement Windows: Why the Distinction Matters
These are two different jobs with two different failure points, and treating one like the other is where a lot of avoidable problems start.
| Factor | New-Construction Windows | Replacement (Insert) Windows |
|---|---|---|
| Installed | Before siding and exterior trim go on | Into an existing finished wall opening |
| Attachment | Nailing fin fastened directly to sheathing | Fastened through the existing frame or jamb |
| Flashing | Full sill pan, jamb, and head flashing integrated with the WRB | Limited to sealant and trim; existing flashing often reused |
| Access to sheathing | Open — sheathing and framing are fully visible and correctable | Closed — hidden damage often can't be inspected |
| Best fit | New builds, additions, full wall reframes | Existing homes keeping their current trim and siding |
New-construction windows have a nailing fin designed to be fastened directly to the sheathing and integrated into the wall's drainage plane before anything else covers it. That's an advantage — you get to build the water management system correctly, in the open, instead of working blind through a finished wall — but only if the person doing it treats each layer with the same care.
What a Correct New-Construction Window Installation Involves
Rough Opening Prep
Before a window ever goes in, we check the opening for square, level, and correct dimensions against the window's actual size, not just the plan set. Framing tolerances add up fast, and a slightly out-of-square opening forces shims and compromises that show up later as operational problems — a window that binds, or won't latch cleanly.
Flashing and the Weather-Resistive Barrier
This is the sequence that actually keeps water out, and it has to happen in order: sill pan flashing first, sloped to drain outward; WRB lapped over the sill pan; jamb flashing next; then head flashing lapped under the WRB above the window so water sheds down and over every layer below it, never into it. Skipping or reversing any one of these laps is the single most common cause of hidden water intrusion in new construction.
Setting and Fastening the Window
The window gets set plumb, level, and square in the opening, shimmed at manufacturer-specified points (not just wherever a gap happens to be), and fastened through the nailing fin per the manufacturer's schedule — spacing, fastener type, and fastener length all matter for both weather performance and warranty compliance.
Sealant Practices We Don't Skip
Sealant is a backup to good flashing, not a substitute for it. We use compatible sealants at the right joints — never sealing the bottom of the nailing fin, which needs to stay open as a drainage path — and we don't rely on caulk to do a flashing detail's job.
Choosing the Right Window Product for a Skagit County New Build
There's no single "best" frame material for every project — it depends on budget, exposure, and how the home is being finished. What matters more than the brand name on the sticker is whether the product is rated for the wind and water exposure your specific elevation will see, and whether the manufacturer's installation instructions match the flashing sequence we're already building around.
- Vinyl: Cost-effective, low maintenance, good moisture tolerance — a solid choice for most new-construction budgets in this climate.
- Fiberglass: More dimensionally stable through temperature swings, holds paint well if you want a custom color, higher upfront cost.
- Aluminum-clad wood: Higher-end look with wood interior and a weather-resistant exterior shell, but cladding seams need careful detailing in a wet climate.
Whichever product you choose, we install it to the manufacturer's written instructions — that's what keeps the window's warranty intact, and it's also usually the best-tested method for that specific product's water management.
Our Process on Mount Vernon New-Construction Jobs
New-construction window work has to fit into a builder's schedule, not fight it. Here's how we run it:
- Coordinate directly with the general contractor or homeowner-builder on timing, so windows go in right after sheathing and WRB are complete — not before, not weeks after.
- Verify rough openings against the window schedule before delivery day, catching framing errors while they're still cheap to fix.
- Install flashing, WRB integration, and windows in sequence, photographing each layer for our own records before it gets covered by siding.
- Walk the completed openings with the builder or homeowner before siding starts, so everyone's confident in what's about to get closed in.
What New-Construction Windows Cost — And What Drives the Price
Costs vary by window count, size, frame material, and how the build is sequenced, so we'd rather walk your specific plans than quote a number that doesn't apply to your project. That said, here's what generally moves the price up or down.
| Cost Factor | Effect on Price |
|---|---|
| Frame material (vinyl vs. fiberglass vs. clad-wood) | Largest single driver of per-window cost |
| Window size and number of openings | Larger and more openings scale cost directly |
| Glazing package (double vs. triple pane, coatings) | Improves comfort and efficiency at added cost |
| Special shapes or operable styles (casement, awning, custom) | Higher cost than standard single- or double-hung |
| Timing coordination with the build schedule | Well-sequenced jobs avoid rework and delay costs |
Checklist: What to Verify Before Your Windows Go In
- Rough openings match the window schedule dimensions, with allowance for shimming
- Sheathing and framing around each opening are dry and free of visible damage
- WRB is installed and lapped correctly before window delivery
- Sill pan flashing is specified and sloped to drain outward, not just "caulked"
- Fastener type and spacing are documented against the manufacturer's installation instructions
- Someone is walking each opening before siding covers it — not assuming it's fine
Why Hiring a Crew That Already Works Mount Vernon Matters
A window install that's technically correct on paper still has to survive an actual Skagit Valley winter. Crews who work this area regularly already know how the marine air, the sideways rain, and the long damp stretch between fall and spring behave against a new build — and they build the flashing and drainage detailing accordingly instead of copying a spec sheet written for a drier climate. Local familiarity also means fewer surprises coordinating with the builders, inspectors, and permitting expectations you'll run into on a Mount Vernon or broader Skagit County job site.
If you're framing a new home or addition in Mount Vernon and want your windows installed by a crew that already knows what this climate demands, we're glad to walk your plans with you. Reach out for a free, no-pressure estimate — no obligation, just a straight answer on what the job needs and what it'll cost.