 Anacortes Siding
 New-Construction Windows Built for the Skagit Valley
Sedro-Woolley sits up the Skagit River from Anacortes, and while it doesn't get the same waterfront salt exposure as the coast, it shares the same long, wet Skagit County winters, driving rain off the valley, and moss season that never really ends. A new-construction window job here isn't just about picking a good-looking window — it's about getting the flashing, the weather-resistant barrier tie-in, and the sealant details right the first time, because a house here can go months at a stretch without a real drying window. We install new-construction windows on builds throughout Sedro-Woolley and the surrounding Skagit Valley, and we treat the window opening as a system, not just a box that gets set into a hole.
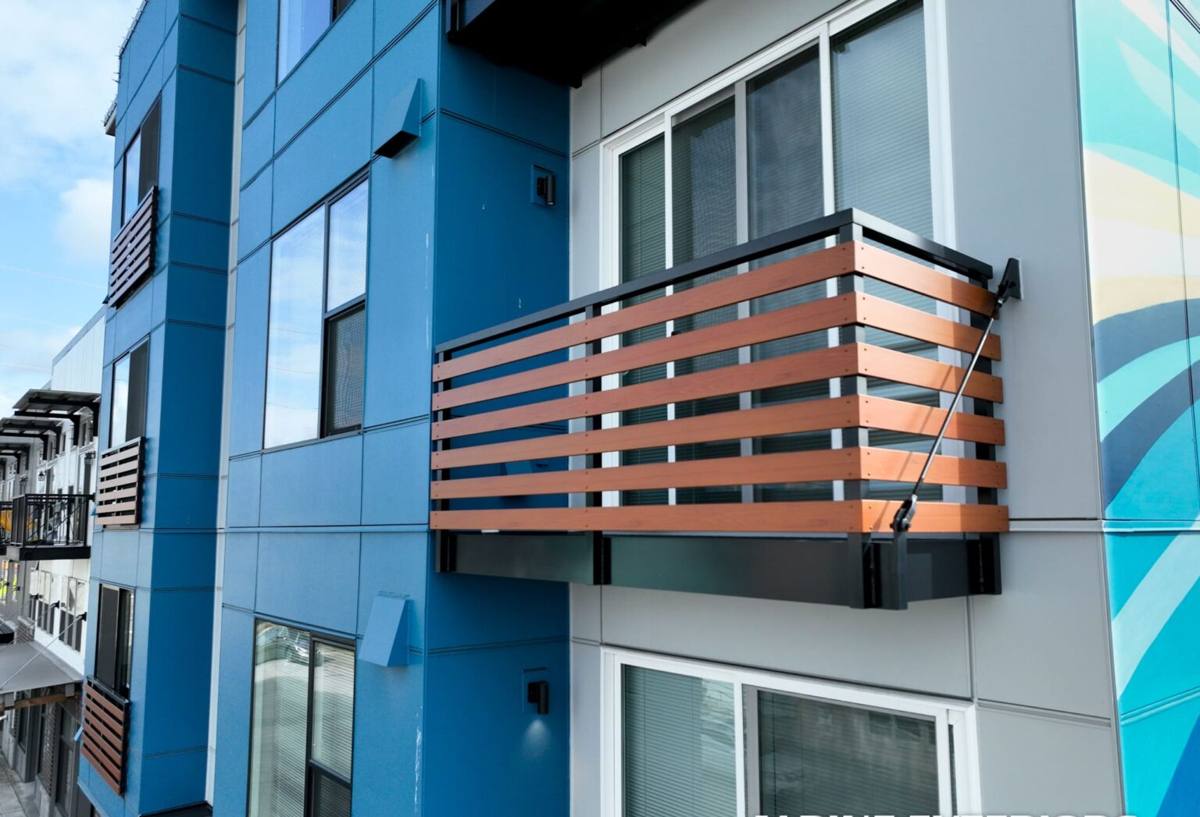
New Construction vs. Replacement: Why the Job Is Different
Replacement window work fits a window into an existing, already-flashed opening. New-construction window work is the opposite — you're building the water-management system from bare sheathing outward. That means every layer matters: the weather-resistant barrier, the sill pan, the flashing tape, the window's own nailing fin, and finally the siding or trim that laps over it. Skip a step or get the sequence backwards, and you won't see a problem on day one. You'll see it two or three wet seasons later, when water that should have drained back out has instead been finding its way behind the wall.
Because we're a siding contractor as much as a window installer, we see both sides of this failure point constantly. Most of the water damage we open up on remodel jobs didn't start with the siding — it started with a window opening that wasn't flashed to shed water down and out, regardless of what brand of window sat inside it.
What "Getting It Right" Actually Requires
- A sloped sill pan under every window, not a flat one — water needs somewhere to go
- Weather-resistant barrier integrated in true shingle-fashion, lapped so upper layers always cover lower ones
- Flashing tape that's actually compatible with the WRB and window frame material (not every tape sticks to every surface long-term)
- A back dam or end dams at the sill so water can't wick sideways past the pan
- Head flashing installed last, over the WRB, directing water out and away from the top of the window
- Sealant used only where it belongs — sealant is a backup to flashing, not a substitute for it
What the Skagit Valley Climate Demands
Anacortes and Sedro-Woolley both sit inside a climate that's defined by duration, not intensity. It doesn't rain the hardest here — it just rains the longest, and the moss and moisture that come with a Pacific Northwest winter don't let up until well into spring. A window opening in Skagit County needs to handle:
- Sustained wind-driven rain that can push water sideways against a wall for days at a time, not just straight down
- Extended damp periods where wood trim, sheathing, and framing stay at elevated moisture content for months
- Moss and algae growth on any surface that stays shaded and wet, which holds moisture against trim and flashing longer than a dry climate ever would
- Condensation risk from the temperature swing between a warm interior and a cold, damp exterior, especially on lower-performing glass
None of this is dramatic weather — no hurricanes, no hail events — but it's relentless, and relentless is what finds the one flashing detail that was done wrong. A window that would perform fine in a drier climate can leak here simply because it never gets a real chance to dry out between storms.
How We Sequence a New-Construction Window Install
On a new build or an addition, we coordinate directly with the builder's framing and siding schedule so the window opening is prepped correctly before the window ever shows up. The general sequence:
- Verify the rough opening is square, plumb, and sized correctly for the window unit — a bad rough opening causes problems no amount of shimming fixes later
- Install the weather-resistant barrier around the opening in proper shingle-lap order
- Cut and dress the WRB into the opening, then install a sloped sill pan with back dams
- Set the window, level and plumb, fastened per the manufacturer's instructions — not just "close enough"
- Tape the jambs, then the head, in the correct shingle sequence so every layer sheds water onto the layer below it
- Install head flashing over the top nailing fin before any siding or trim goes on
- Insulate the gap between the frame and rough opening with a compatible low-expansion foam or backer rod — over-filling with high-expansion foam can bow a frame
- Coordinate trim and siding tie-in so the cladding laps the flashing correctly, keeping the whole assembly working as one water-shedding system
Choosing a Window Material for a Skagit County Build
There's no single "best" window — the right choice depends on budget, maintenance appetite, and how exposed the opening is to weather. Here's how the common options compare for a new build in this climate:
| Material | Moisture Performance | Maintenance | Typical Use Case |
|---|---|---|---|
| Vinyl | Good — won't rot, handles damp climates well | Low — occasional cleaning | Most cost-effective new-construction option |
| Fiberglass | Very good — stable in temperature swings and moisture | Low | Higher-end builds wanting durability with less flex than vinyl |
| Wood-clad | Depends heavily on installation quality and clad integrity | Higher — exposed wood needs upkeep, clad seams need monitoring | Traditional look where interior wood trim is a priority |
| Aluminum | Prone to condensation without a thermal break | Low | Less common in residential new construction here |
We frame this as our professional standard, not a knock on any manufacturer: in a climate where an opening can stay damp for weeks on end, we lean toward materials and details that don't depend on perfect long-term maintenance to keep water out. Wood-clad windows can absolutely work here, but they demand a homeowner who will stay on top of caulking and finish upkeep — that's a real trade-off worth discussing before you order windows for a build.
Energy Performance and Building Code
Washington's energy code sets minimum performance requirements for new-construction windows, and in a marine climate like Skagit County, the numbers that matter most are U-factor (how well the window resists heat loss) and condensation resistance. A window with a poor U-factor doesn't just cost more to heat around — in this climate, it's also more likely to fog or sweat on the inside during cold, damp stretches, which over time can damage sills and trim. We spec windows that meet or beat current code minimums and talk through trade-offs on glass packages, since upgrading from double- to triple-pane, or adding a low-E coating, changes both comfort and long-term moisture behavior at the glass edge.
Egress requirements also matter on new builds — bedroom windows need to meet minimum opening size and sill height for emergency exit, and we check this against the approved plans before any window is ordered, not after it shows up on site.
Mistakes We Commonly Catch on New Construction Sites
Working new construction throughout Skagit County, we see the same handful of shortcuts cause problems years down the road:
- Flat or backward-sloped sill pans that trap water instead of draining it
- WRB and flashing tape installed out of shingle order, so laps direct water inward instead of outward
- Incompatible tape and WRB combinations that lose adhesion after a season or two of damp cycling
- Over-reliance on caulk at the exterior trim line instead of proper flashing underneath it
- High-expansion foam used around the frame, bowing the jamb and causing the sash to bind or fail to seal
- Siding installed tight against the window frame with no room for the flashing to actually shed water past it
Every one of these is invisible on move-in day. They show up as a soft spot in trim, a musty smell near a window, or a stain on interior drywall — usually well after the builder's warranty window has closed.
Why It Matters That We Work Sedro-Woolley and Anacortes Both
Sedro-Woolley homes sit further inland than our Anacortes jobs, so the exposure is different — less direct salt air, but the same wind-driven rain funneling down the Skagit Valley and the same long moss season that comes with any wooded, damp corner of Skagit County. Working both areas regularly means we're not guessing at how a detail performs here versus somewhere drier — we're building to what this specific stretch of Western Washington actually throws at a house, season after season. We also work directly with builders and general contractors, which matters on new construction: window flashing has to be sequenced with the WRB, the siding, and sometimes the trim crew, and a miscommunication between trades is one of the most common ways good materials still end up with a bad result.
What to Expect From Our Process
For a new-construction project, we typically start by reviewing the plans and rough opening sizes with the builder, confirm window selections and performance specs, and schedule our flashing and installation work to line up with the framing and siding timeline. We walk the openings before windows go in, and we walk them again after, before siding closes anything up — because once the cladding is on, those flashing layers aren't visible again for the life of the house.
If you're building or planning a build in Sedro-Woolley or elsewhere in Skagit County, we're happy to look at your plans and talk through window selection and installation sequencing before anything is ordered. Reach out for a free, no-pressure estimate using the form below.