 Anacortes Siding
 Building New in Ship Harbor? The Windows Have to Match the Location
Ship Harbor sits close to the water on Fidalgo Island, which means homes here take a different kind of weather beating than houses a few miles inland in Anacortes or elsewhere in Skagit County. Salt-laden air moves off the water and settles on everything, wind-driven rain finds any gap in a building envelope that isn't sealed correctly, and the long gray moss season keeps trim, sills, and cladding damp for weeks at a stretch. New-construction windows are your one real chance to get the water management right before siding, trim, and interior finishes close everything up. Get it wrong at framing stage and you're chasing leaks and rot for the life of the house.
This page covers what we look for and do specifically when installing new-construction windows in the Ship Harbor area — not a generic replacement-window pitch, but the actual mechanics of a correct new-build install in a marine climate.
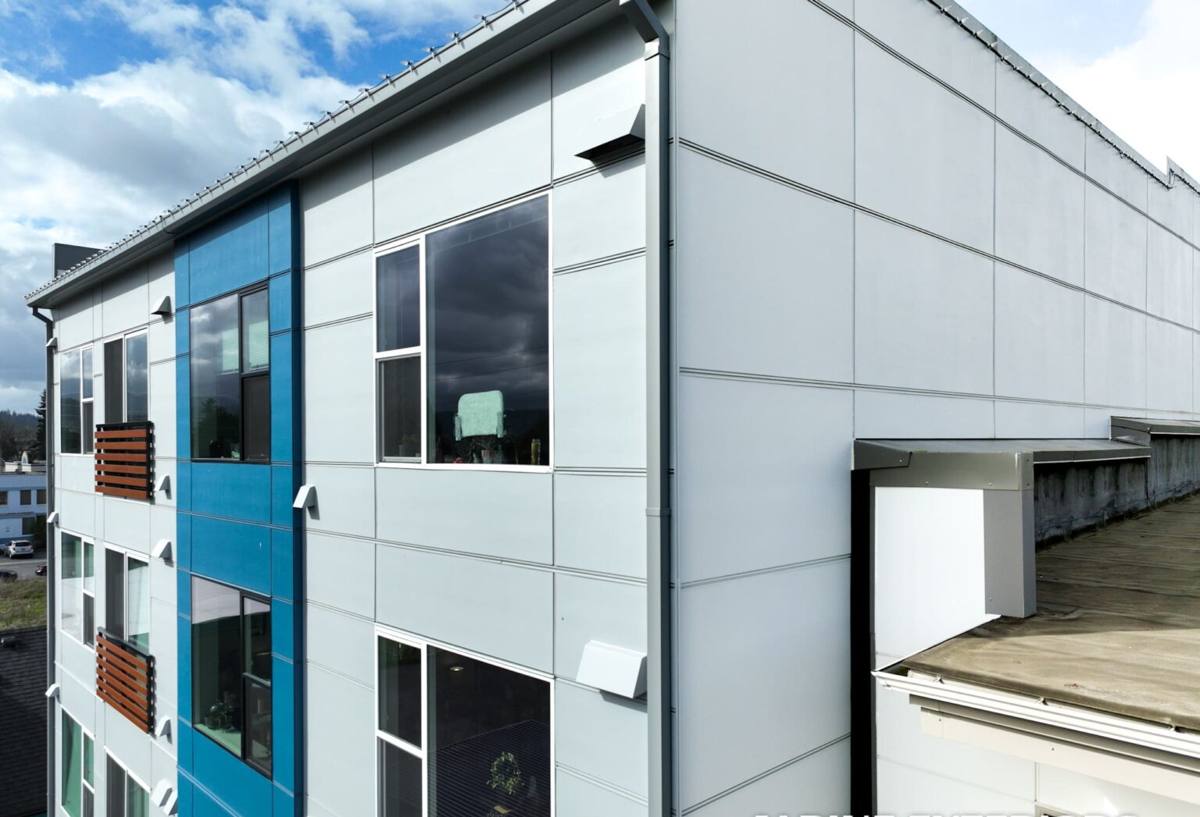
New Construction vs. Replacement: Why the Distinction Matters
New-construction windows have a nailing flange (or fin) around the perimeter that gets integrated directly into the wall's weather-resistive barrier (WRB) before siding goes on. Replacement windows, by contrast, are usually inserted into an existing frame with the exterior trim left in place. On a new build or an addition, you have full access to the rough opening, the sheathing, and the WRB — which means the flashing sequence can be done correctly from the ground up instead of worked around. That's the advantage of doing it right at this stage, and it's why the install sequence matters as much as the window product itself.
What "Correct" Actually Means Here
- Sill pan flashing installed and sloped to drain outward, before the window ever goes in
- Window set into the pan, shimmed level and plumb, fastened per the manufacturer's schedule
- Jamb flashing lapped over the nailing fin on both sides
- Head flashing installed last, lapped over the WRB above and integrated with the jamb flashing — never taped flat against the wall
- WRB shingle-lapped over the whole assembly so every layer drains onto the layer below it, never behind
- Fasteners and flashing tape compatible with both the window frame material and the WRB (some tapes and sealants don't bond well to vinyl or certain WRBs)
Skip any one of these steps and you don't necessarily see a problem right away. In this climate, with driving rain hitting west and south exposures and moss holding moisture against trim for months, a shortcut here tends to show up as water staining or soft framing two or three winters later — right when it's expensive and disruptive to fix.
What Ship Harbor's Climate Does to a Window Assembly
Salt Air
Proximity to saltwater accelerates corrosion on anything metal — fasteners, hardware, flashing, and window frame components that aren't rated for coastal exposure. Cheaper hardware and uncoated fasteners can start showing surface corrosion within a few years this close to the water. We spec corrosion-resistant fasteners and flashing metals for anything near Ship Harbor's shoreline-adjacent lots, and we pay attention to which window hardware finishes actually hold up in salt air versus which ones just look good in a showroom.
Driving Rain
Wind off the water doesn't just drop rain straight down — it drives it sideways into wall assemblies, which puts real pressure on head flashing and any horizontal joint. This is exactly why head flashing sequence and pitch matter more here than in a sheltered, inland lot. A head flashing that's flat or under-lapped will eventually let wind-driven rain track backward into the wall cavity.
Moss Season
Anacortes gets a long stretch of damp, low-light months where moss and algae take hold on anything that stays wet — sills, exterior trim, north-facing surfaces. Moss itself doesn't destroy a window, but it holds moisture against wood trim and can clog weep holes and drainage paths if they're not accounted for during install. We keep sill drainage and weep paths clear and unobstructed, and we talk through trim material choices that resist moisture retention better than raw wood in shaded, damp locations.
Choosing the Right Window for This Location
There's no single "best" window brand or material for every house — the right call depends on the home's design, budget, and exposure. What we focus on is matching frame material and glazing package to how exposed the specific lot is.
| Frame Material | Strengths in This Climate | Trade-Offs to Know |
|---|---|---|
| Vinyl | Won't rot or corrode from salt air; good value; low maintenance | Can expand/contract with temperature swings; frame color/quality varies widely by manufacturer |
| Fiberglass | Very stable dimensionally, holds paint well, strong resistance to moisture and corrosion | Higher upfront cost than vinyl |
| Wood-clad | Warm interior appearance, exterior clad in vinyl or aluminum for weather protection | Cladding integrity at joints matters more in salt air and driving rain; more maintenance-sensitive if cladding is ever compromised |
| Aluminum | Strong, slim sightlines, good for larger openings | Poor insulator unless thermally broken; can corrode faster in raw, uncoated form near saltwater |
For most Ship Harbor builds, we lean toward vinyl or fiberglass frames with quality corrosion-resistant hardware, but we'll walk through your specific design goals — sightlines, budget, architectural style — before recommending a direction.
Glazing and Energy Code
New construction in Washington has to meet the Washington State Energy Code, which sets minimum performance requirements for window U-factor and solar heat gain coefficient (SHGC). In Skagit County's marine climate, we typically spec dual-pane, low-E glazing as a baseline, with argon fill and warm-edge spacers to control both heat loss and condensation risk on cold, damp mornings — which are common here. Bedroom windows also need to meet egress requirements (minimum clear opening width, height, and area), which affects window style and placement and needs to be locked in at the design stage, not discovered during framing.
Our New-Construction Window Process
1. Plan Review and Product Selection
We review the window schedule against the framing plan, confirm rough openings, egress requirements, and energy code compliance, and help you select products that fit the budget and the home's exposure.
2. Rough Opening Prep
We confirm the opening is square, plumb, and properly sized before flashing starts — a window installed into an out-of-square opening never operates or seals correctly, no matter how good the flashing job is.
3. Sill Pan and Flashing Install
Sill pan flashing goes in first, sloped to drain to the exterior. This is the single most important step for keeping incidental water — the kind that gets past any window eventually — out of the wall framing.
4. Window Set and Fastening
The window is set into the pan, shimmed for level and plumb, and fastened according to the manufacturer's schedule. Under- or over-fastening both cause problems — too few fasteners risks movement and air infiltration, too many or incorrectly placed fasteners can distort the frame and affect how the sash operates.
5. Jamb and Head Flashing
Jamb flashing laps over the nailing fin, and head flashing goes on last, integrated with the WRB above so every layer sheds water outward and downward, never behind the plane below it.
6. Final Inspection and Operation Check
Before we call it done, every window gets opened, closed, and checked for smooth operation, and we do a visual check of the completed flashing integration before siding crews close it up.
Practical Checklist for Homeowners Working With Any Contractor
- Ask to see the specific flashing sequence they plan to use, not just the window brand they sell
- Confirm sill pan flashing is included — some crews skip it to save time, and it shouldn't be optional
- Ask what fastener and flashing tape materials they use, and whether those materials are rated for coastal/salt-air exposure
- Confirm egress compliance for bedroom windows before the rough openings are framed
- Get the energy code compliance (U-factor, SHGC) documented for your permit file
- Ask how weep holes and sill drainage will stay clear given the local moss and algae growth
Why Local Installation Experience Matters
A window installed correctly in a dry inland climate can still fail here if the crew doesn't adjust for Anacortes conditions — driving rain angles, salt air corrosion, and moss holding moisture against trim longer than it would elsewhere in Skagit County. Crews that already work the Ship Harbor and Fidalgo Island area know which exposures need extra attention, which hardware finishes actually hold up, and how to sequence flashing so the assembly sheds water the way this climate demands. That experience is the difference between a window install that looks right on day one and one that's still performing correctly after five winters of salt air and driving rain.
Get a Straightforward Estimate
If you're building new or adding on in the Ship Harbor area and want new-construction windows installed the right way the first time, we're happy to walk the plans with you and give a clear, no-pressure estimate. Fill out the form below and we'll follow up to talk through your project.